Progress in Marla’s class.
Week 1
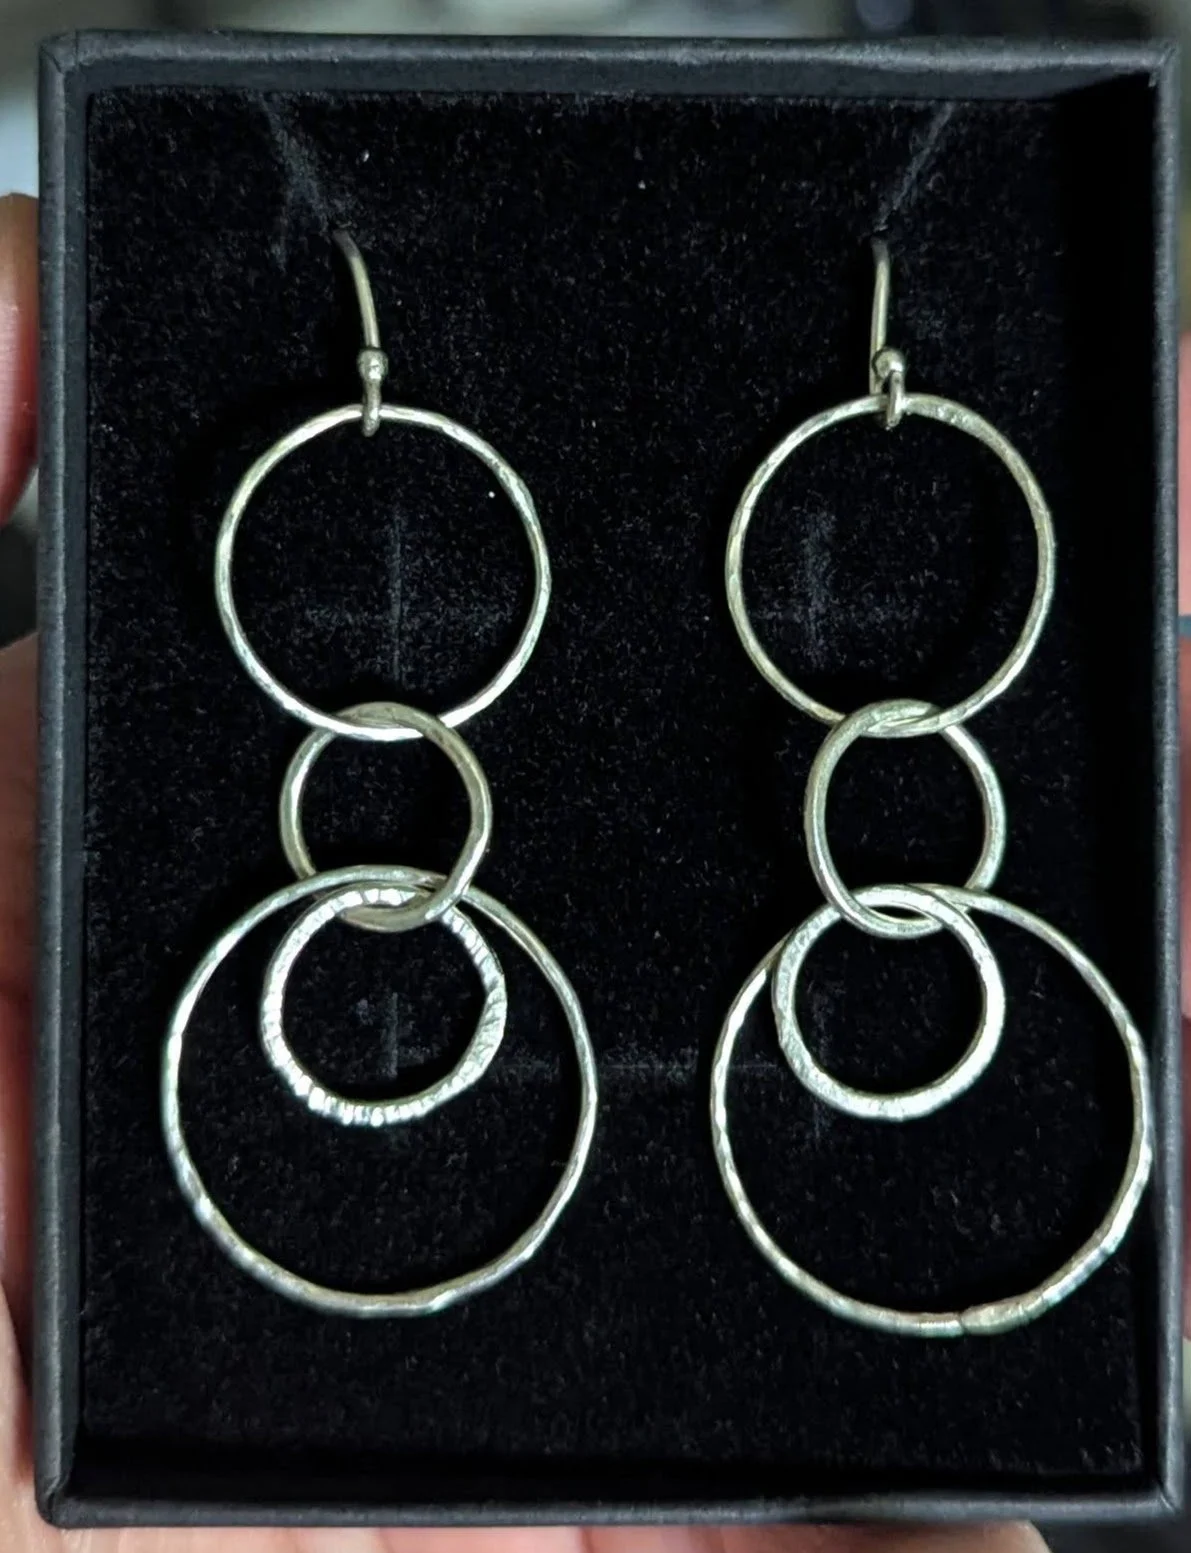
In the first class we learned the basics of cutting silver wire, and making it into a circle. Were then taught to add flux, a small piece of solder, and then how to use the soldering torch, and solder. Then adding the piece to “pickle” some kind of acid bath to dissolve any extra flux on the piece.
We learned how to stretch a ring-shaped piece on a mandrel.
Also learned to add texture using a hammer.
Week 2
A more complicated week.
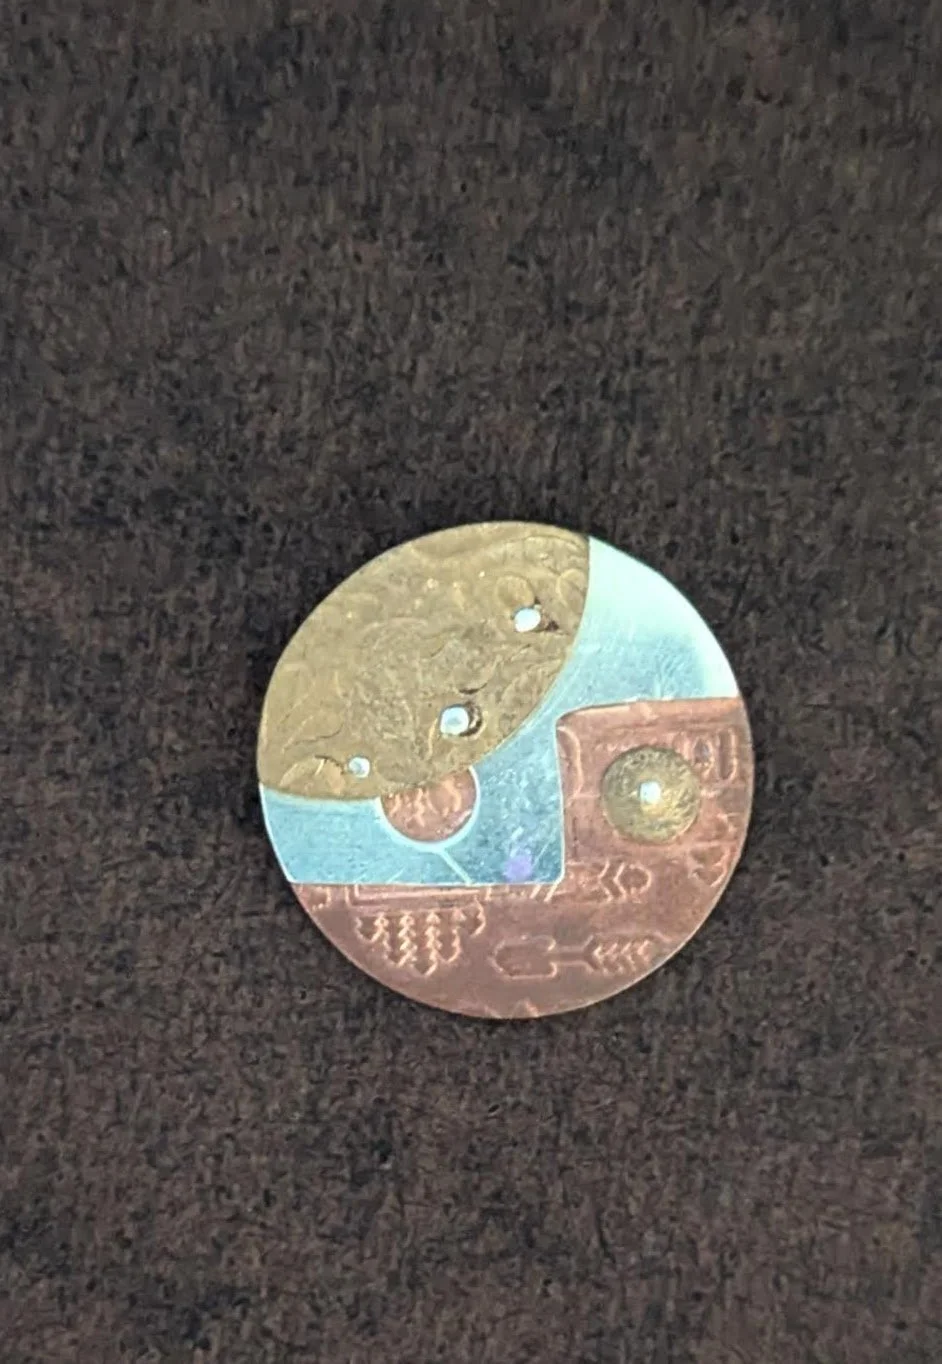
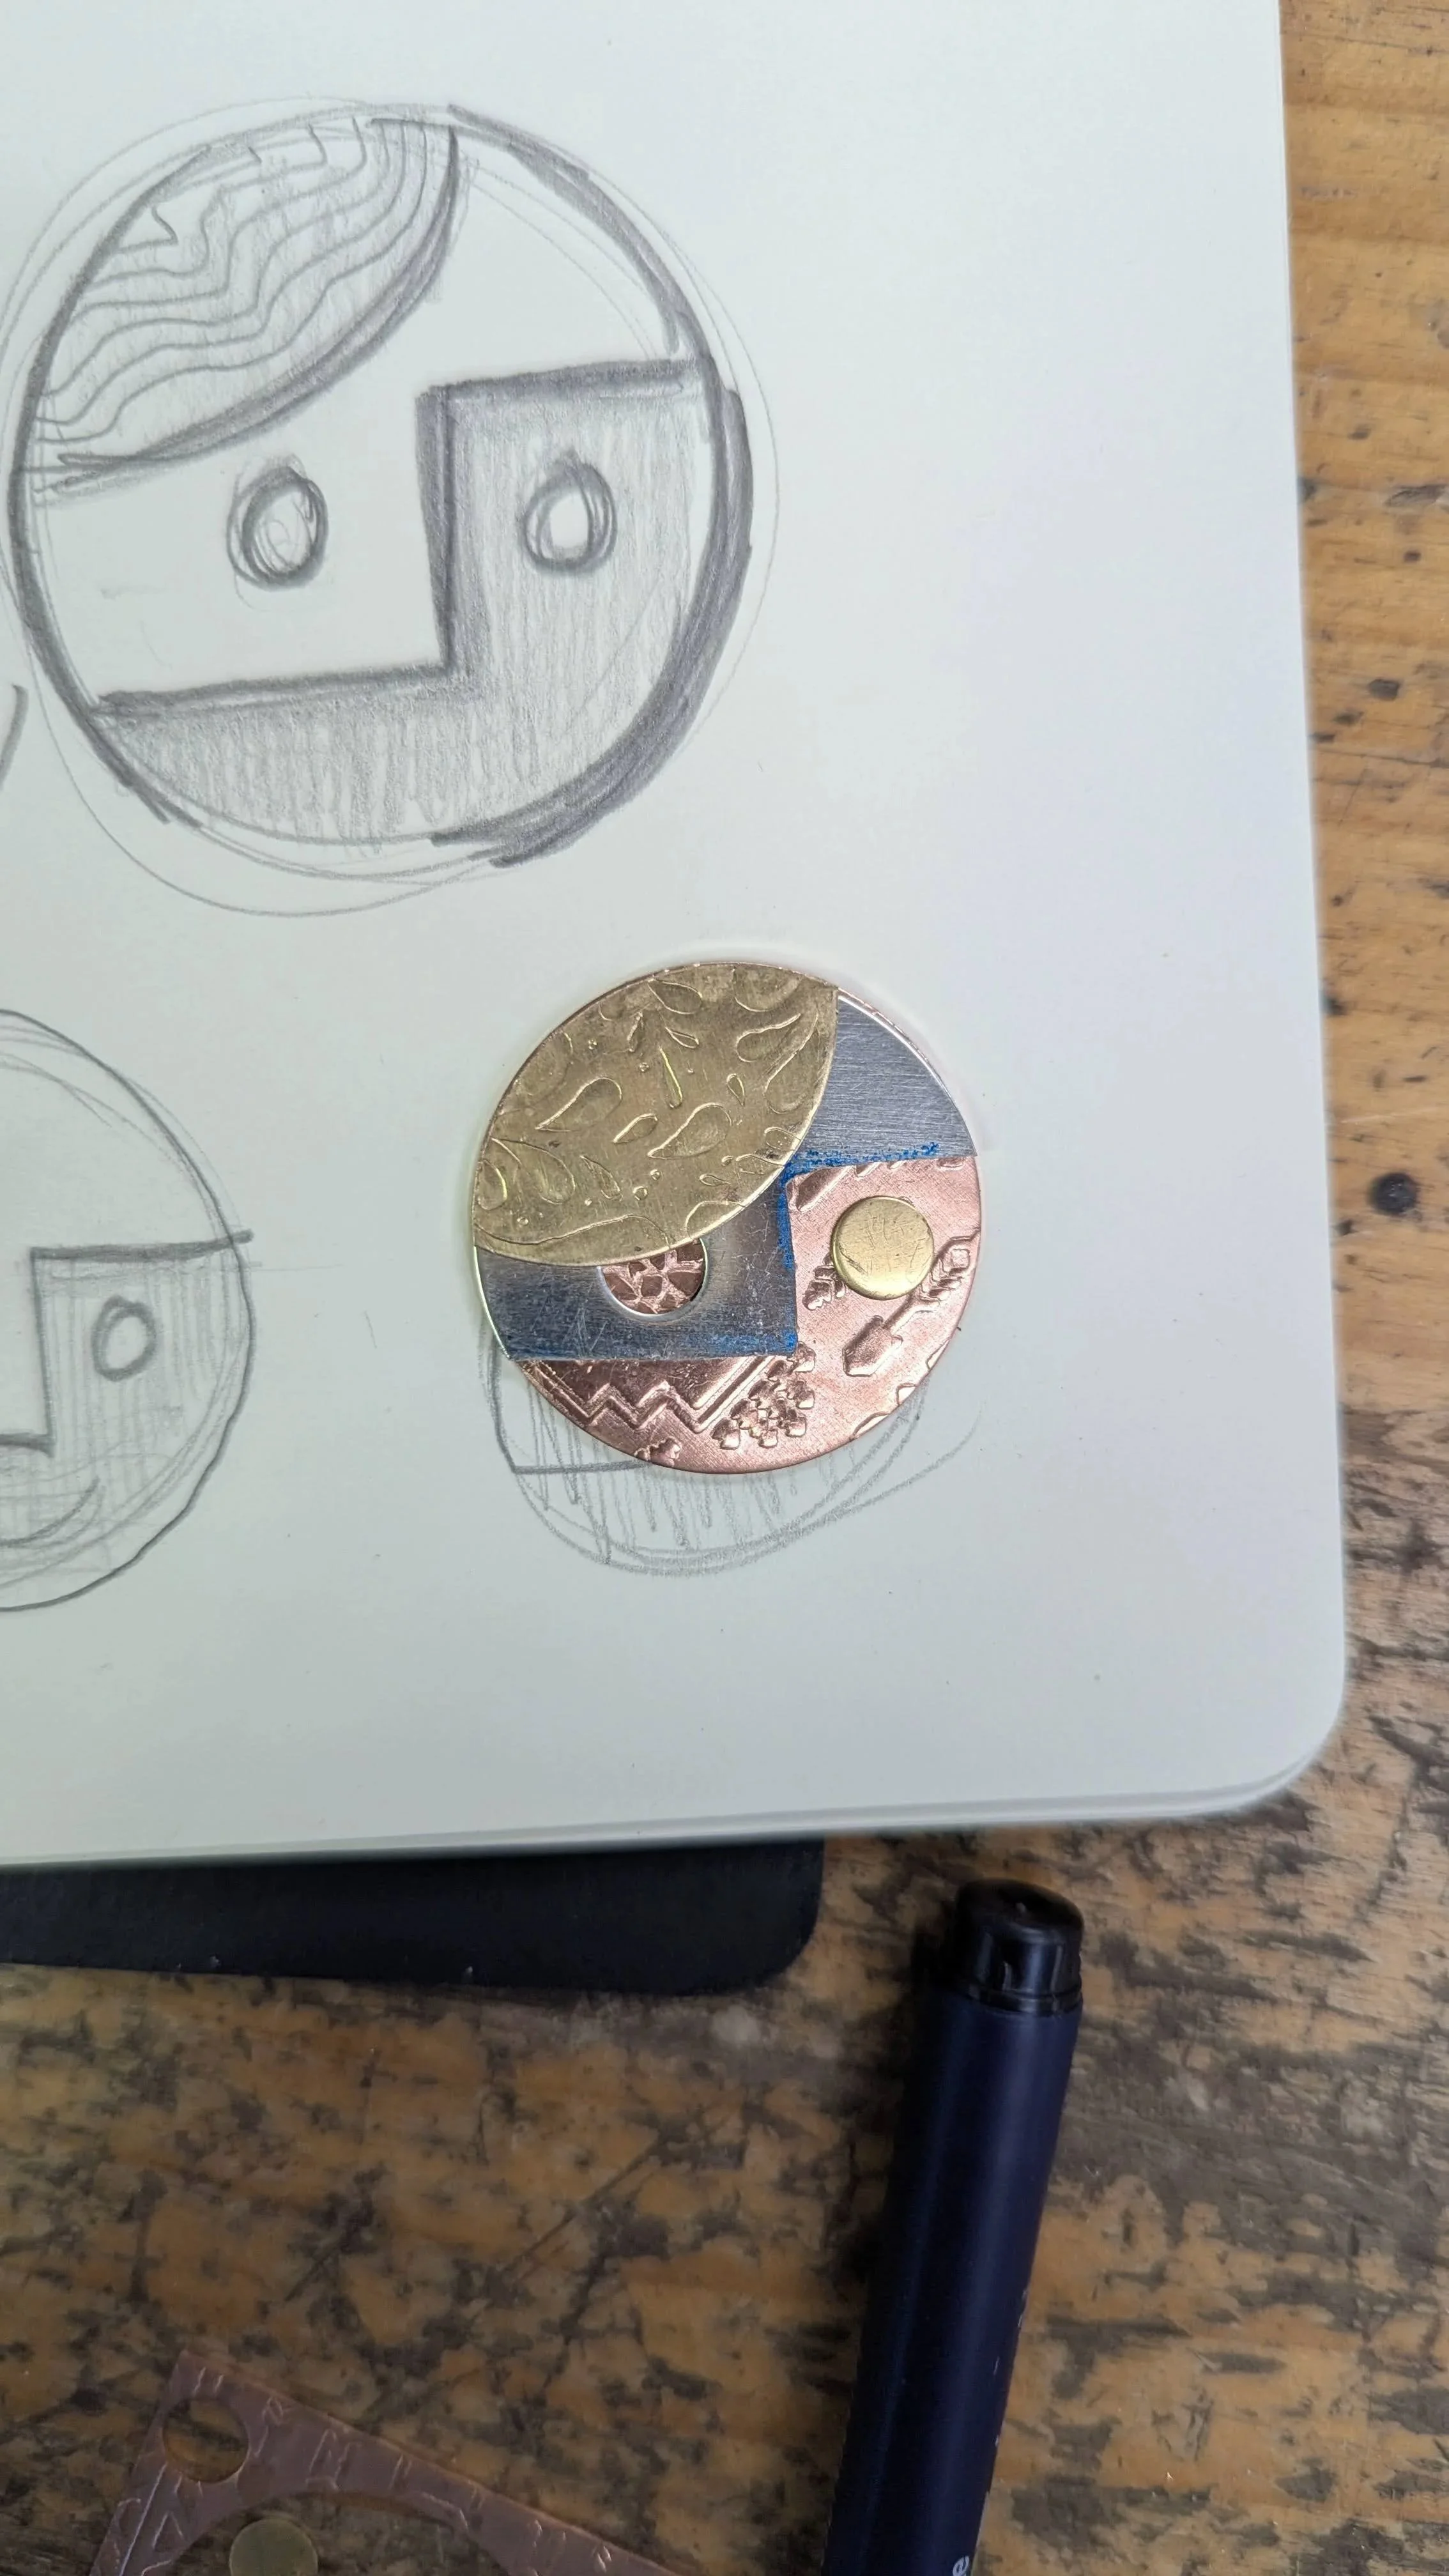
Took sheets of brass, silver, and copper.
Rolled brass and copper though an embossing machine with pre-stamped patterns.
Cut circles of all 3 of the same size by hammering them through another device.
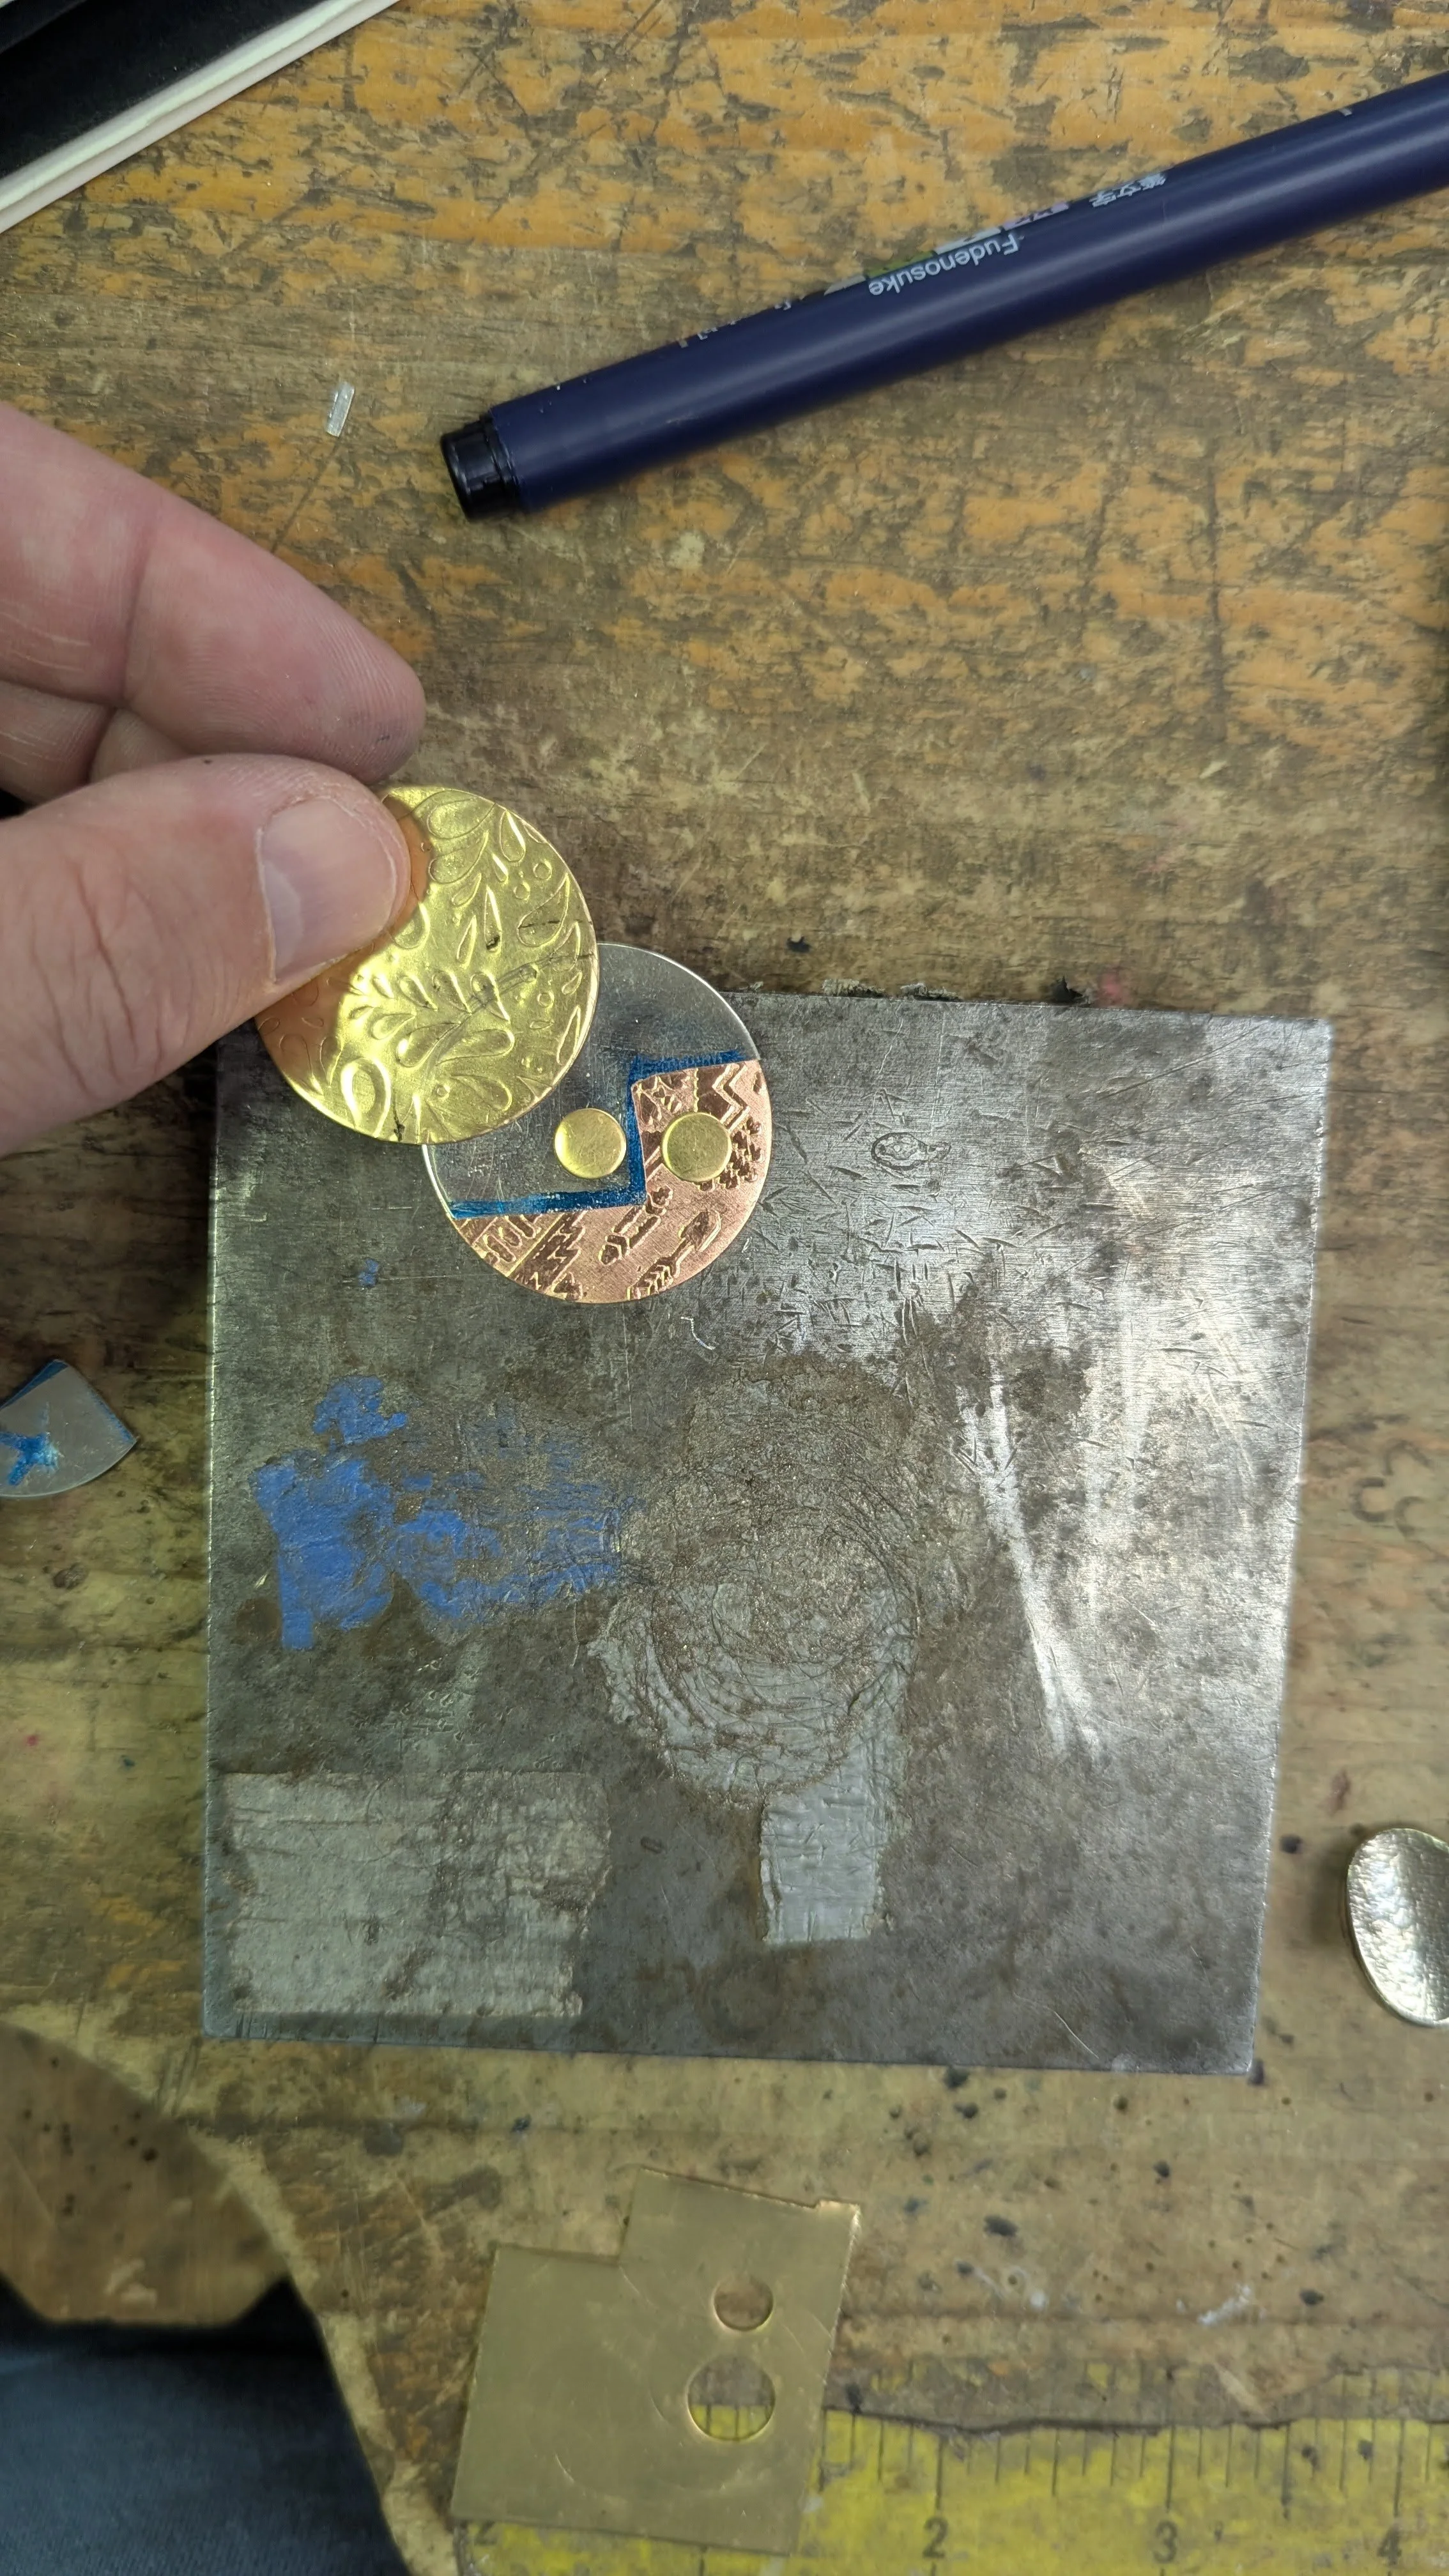
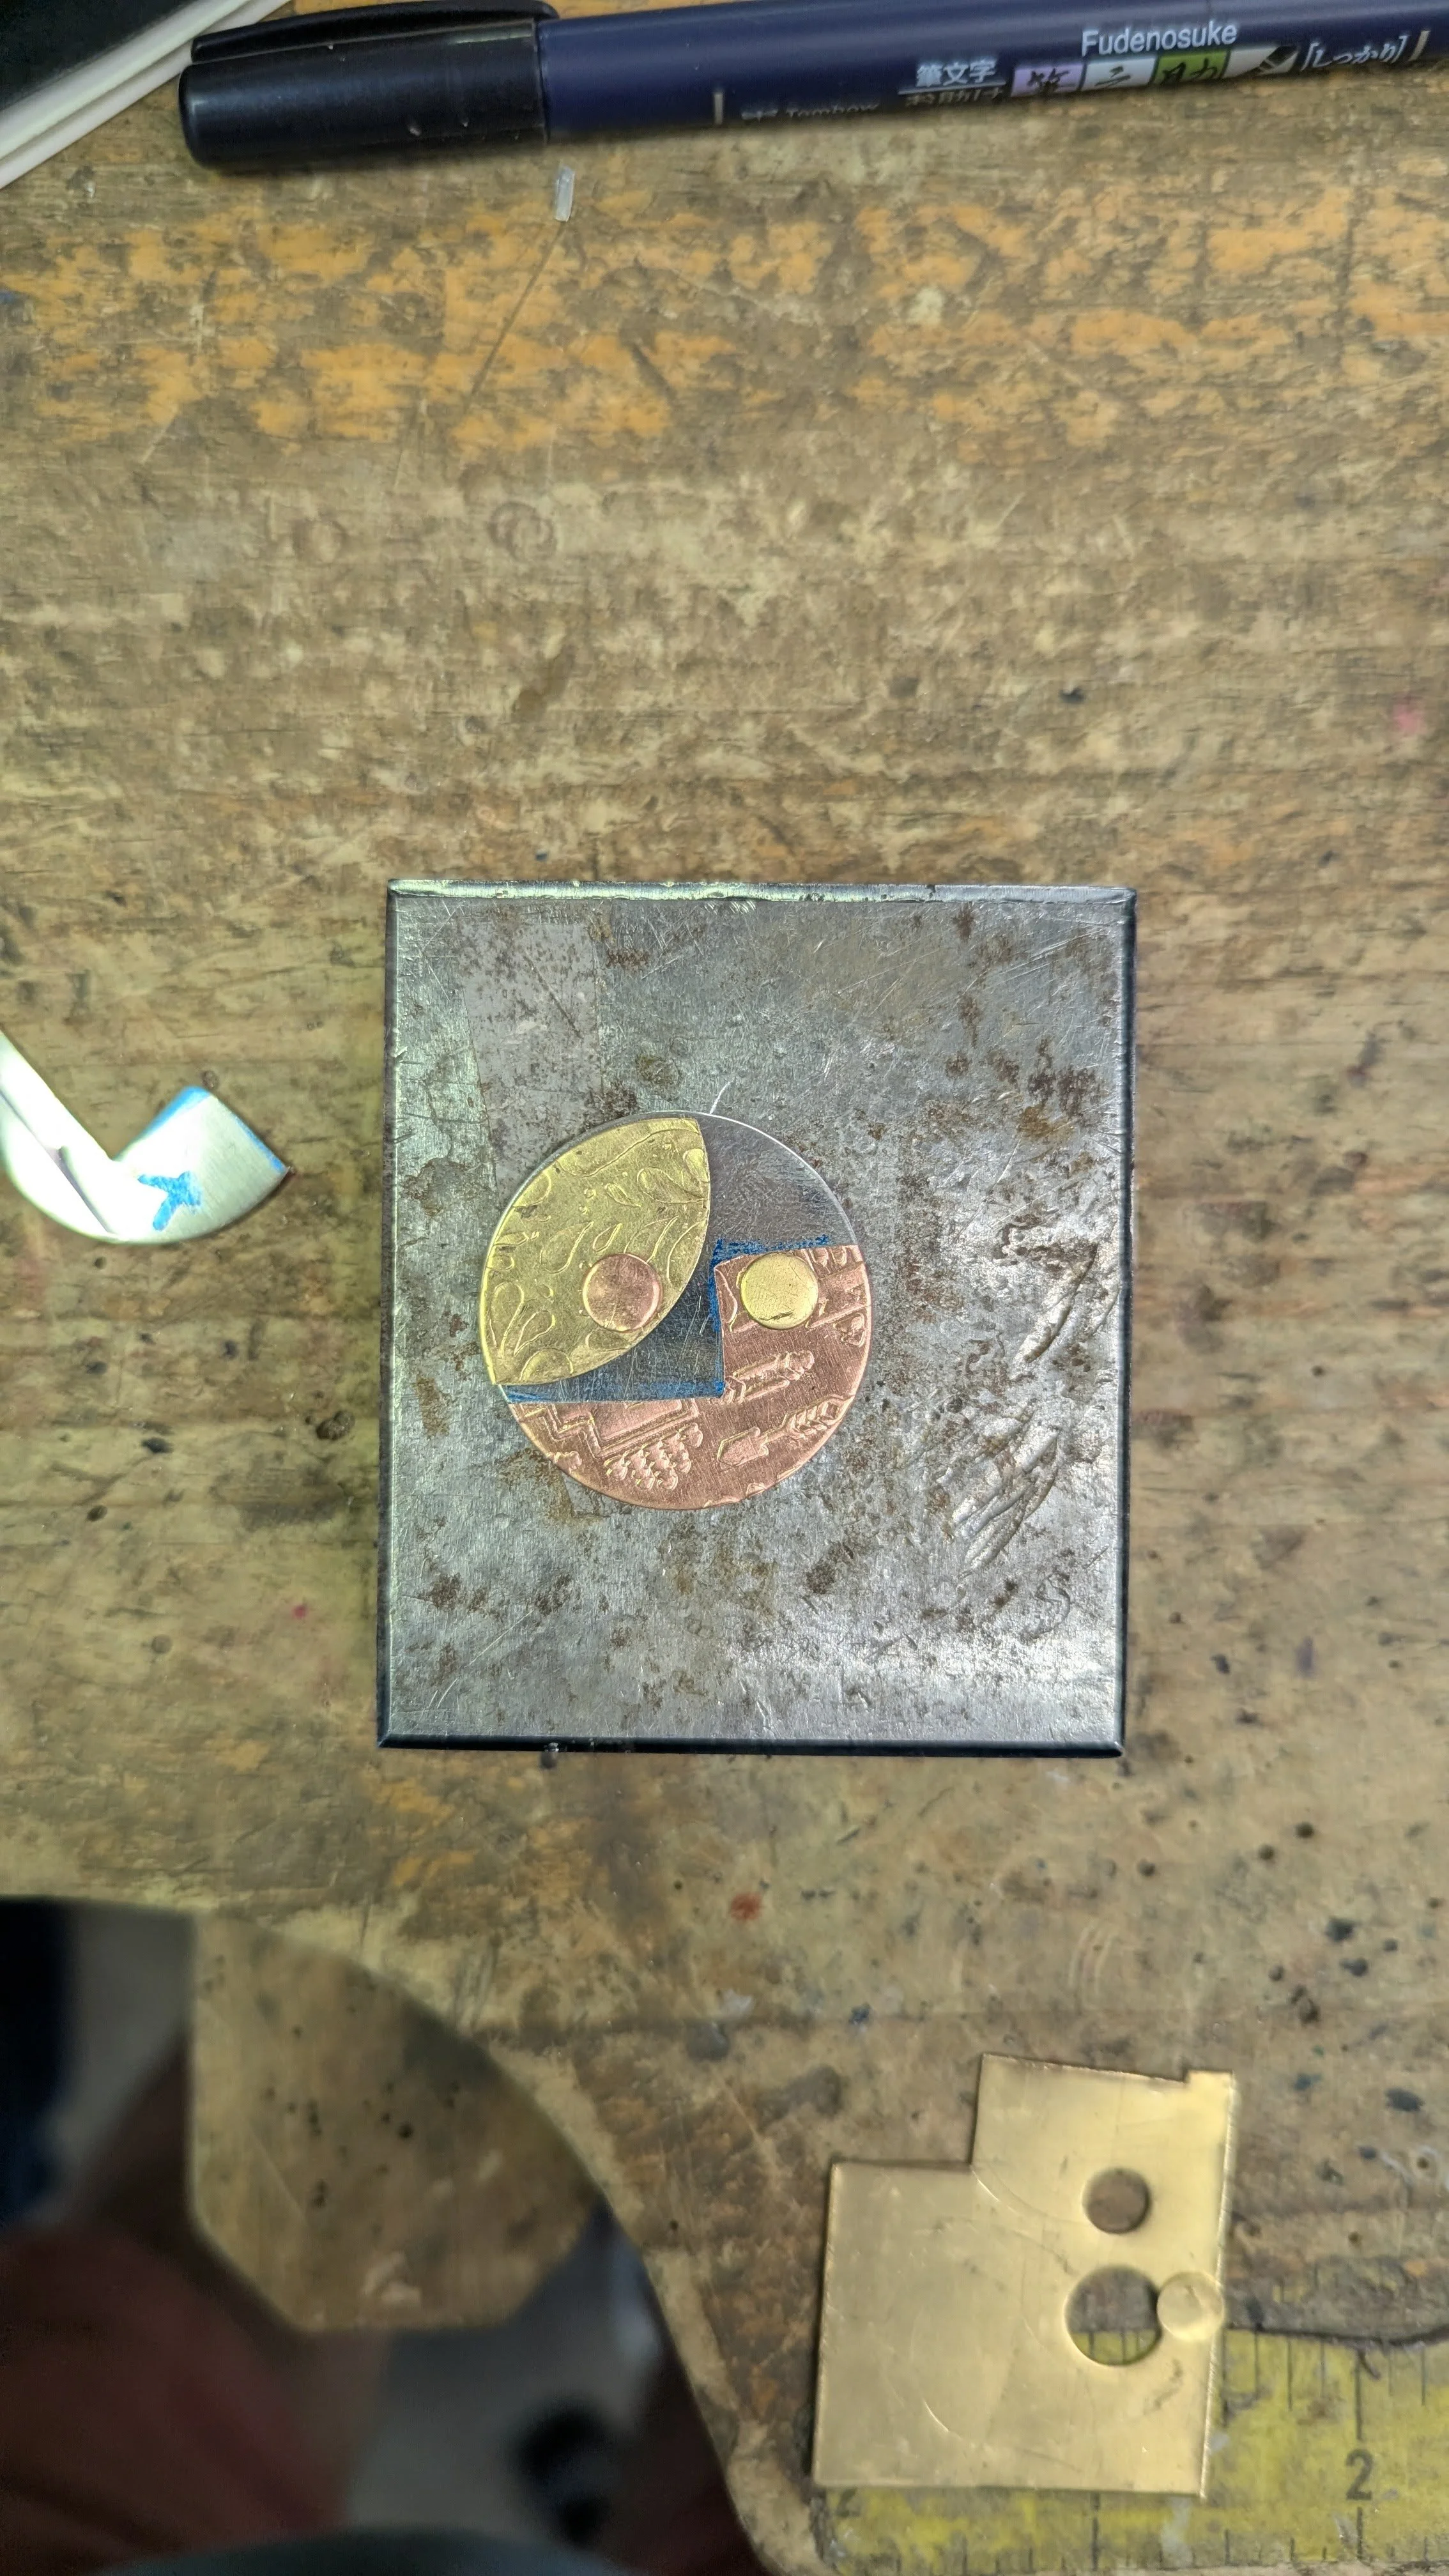
Cut the silver to look like a nose with a coping saw. Put the brass through the punch-out device to have another clean circle line. And then again with a smaller punch to create eyes.
The eye in the silver was originally going to be another brass eye but it was too small to add a rivet to. So I instead cut a hole in the silver to show the copper through, which I thought was a creative idea and like the look better
The next step was to drill holes so I would be able to connect the pieces together. This is where I really struggled. For some reason I kept breaking off the drill bits in the holes. Like 4 or 5 times.
After getting all the holes drilled, I pushed silver wire through the holes, cut quite short on both sides.
With the peen side of a hammer, I slowly smashed the wire to create rivets.
At this point I ran out of time, but will add a latchy guy to the top to connect a necklace, round over the rivets to make them look more ornamental, and then polish everything up.
Week 2 progress pics
Weeks 3 & 4
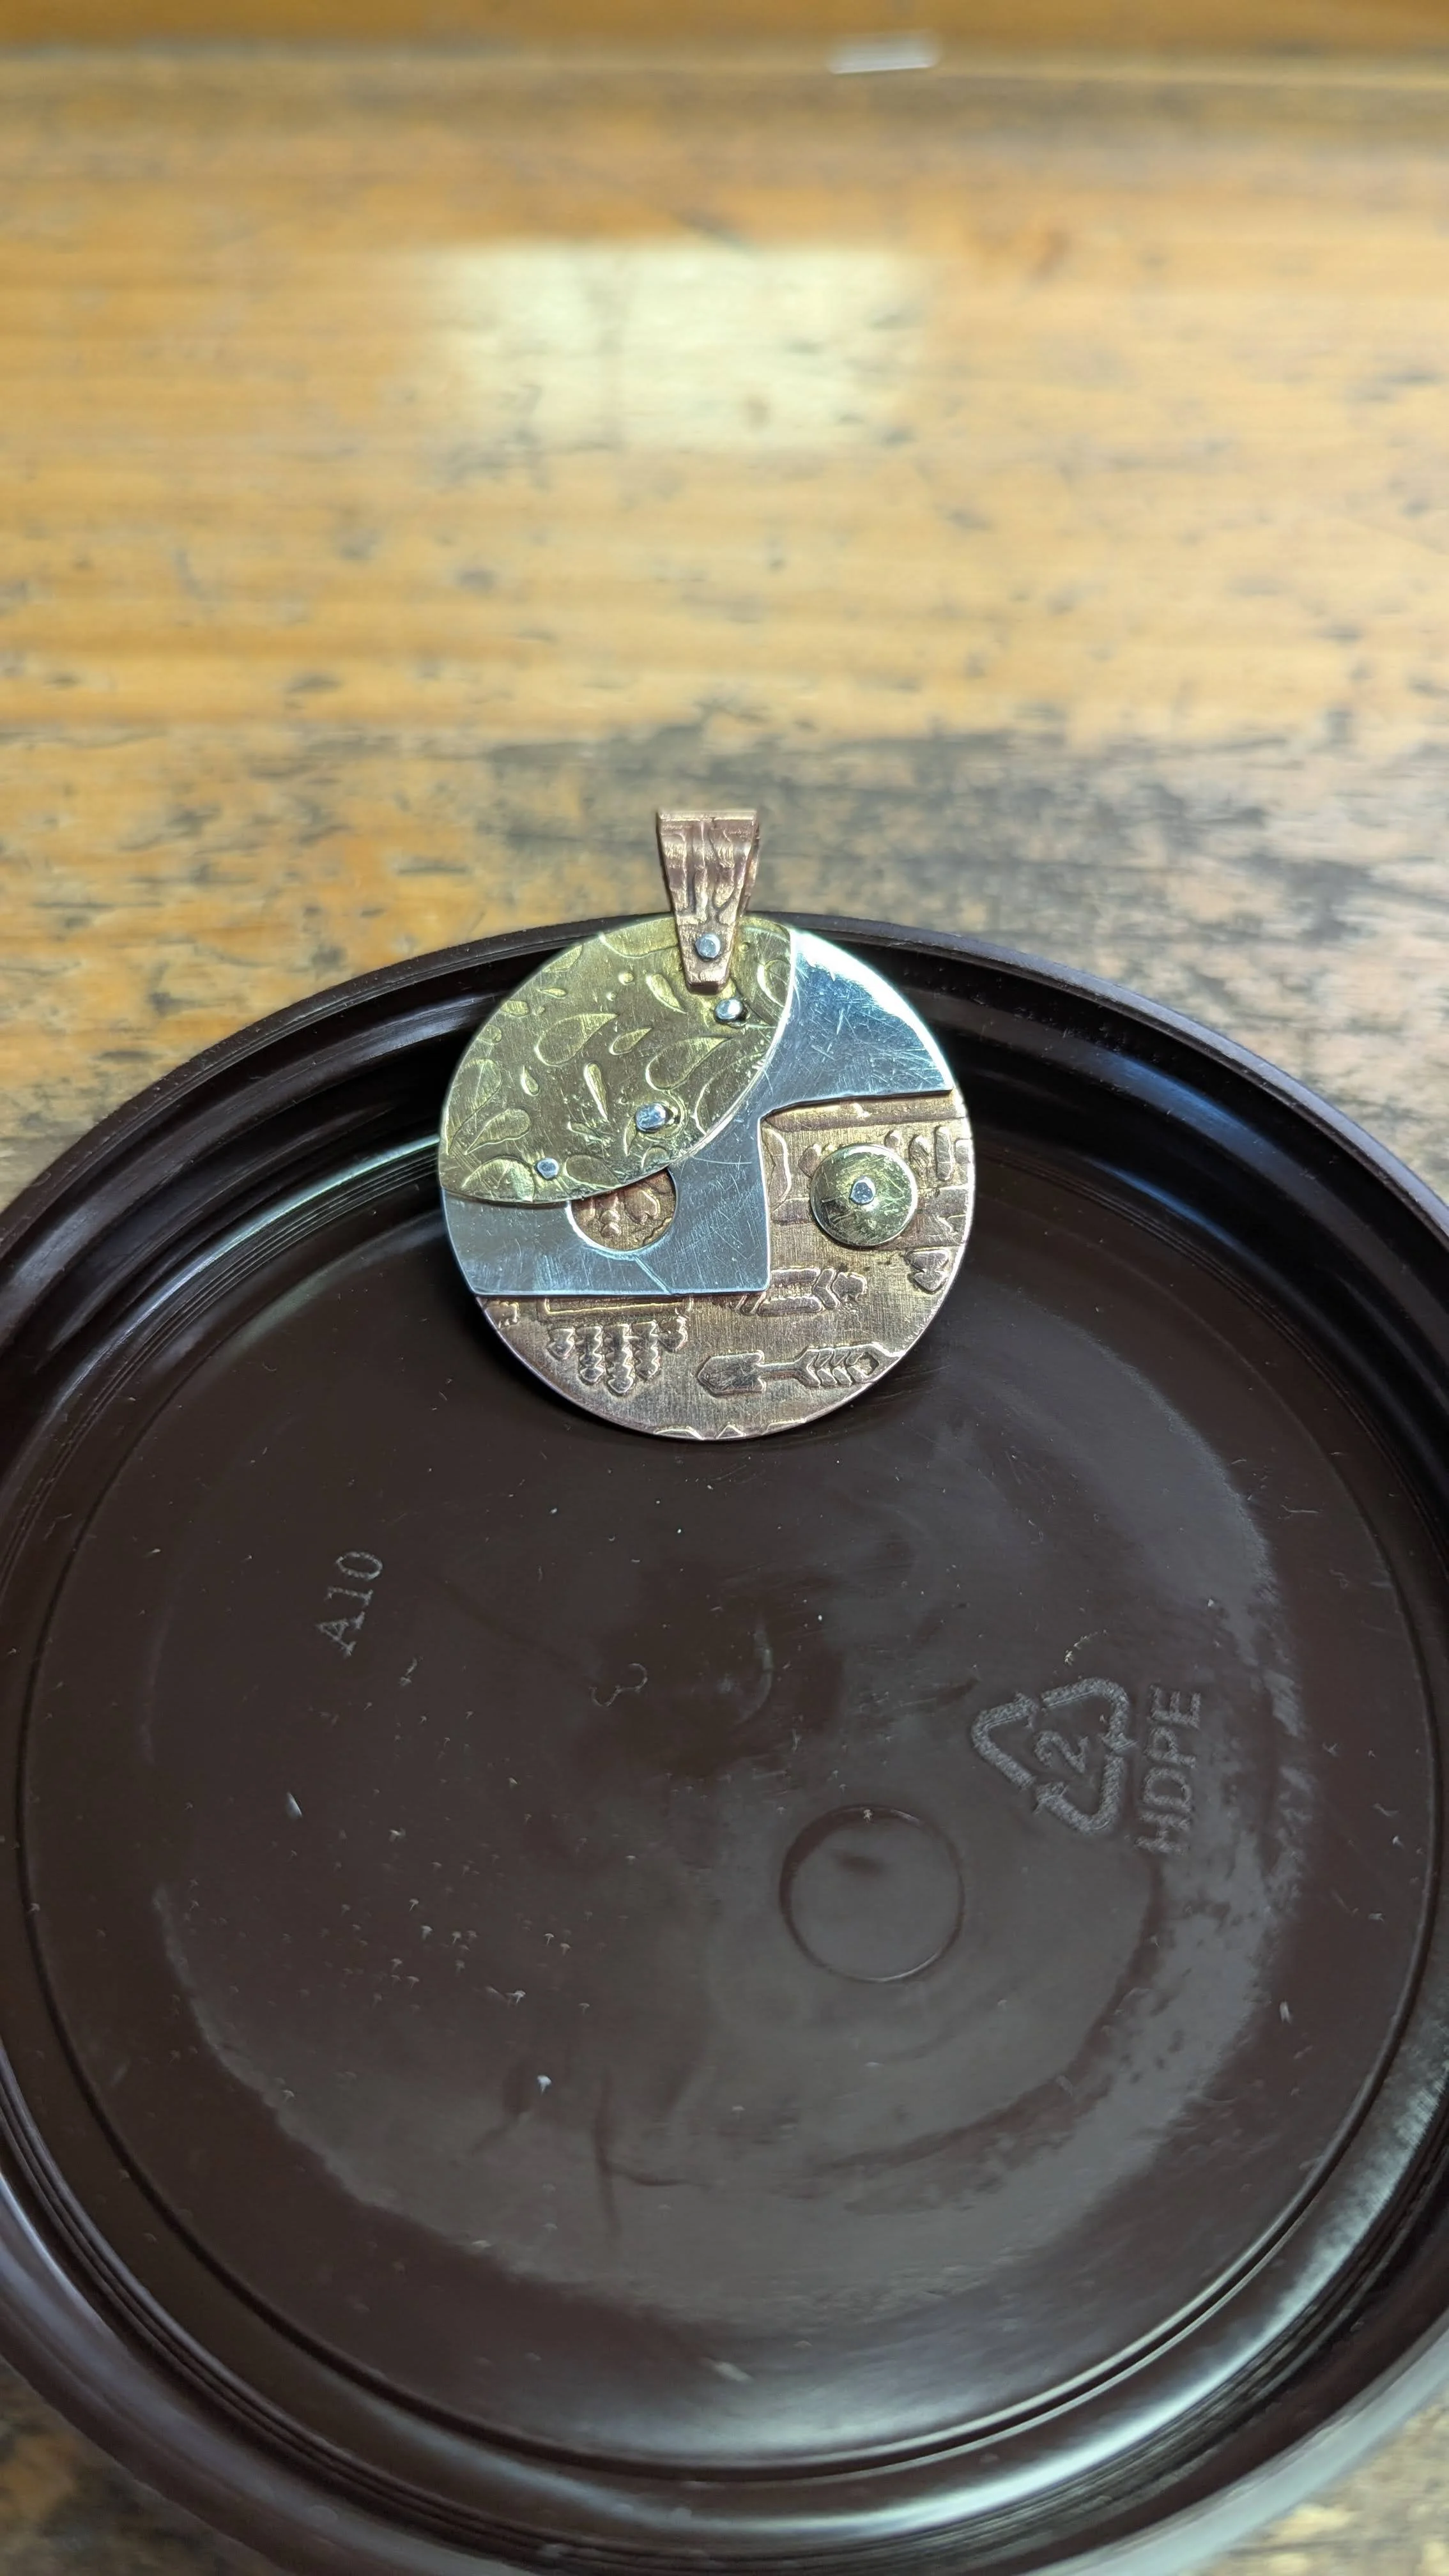
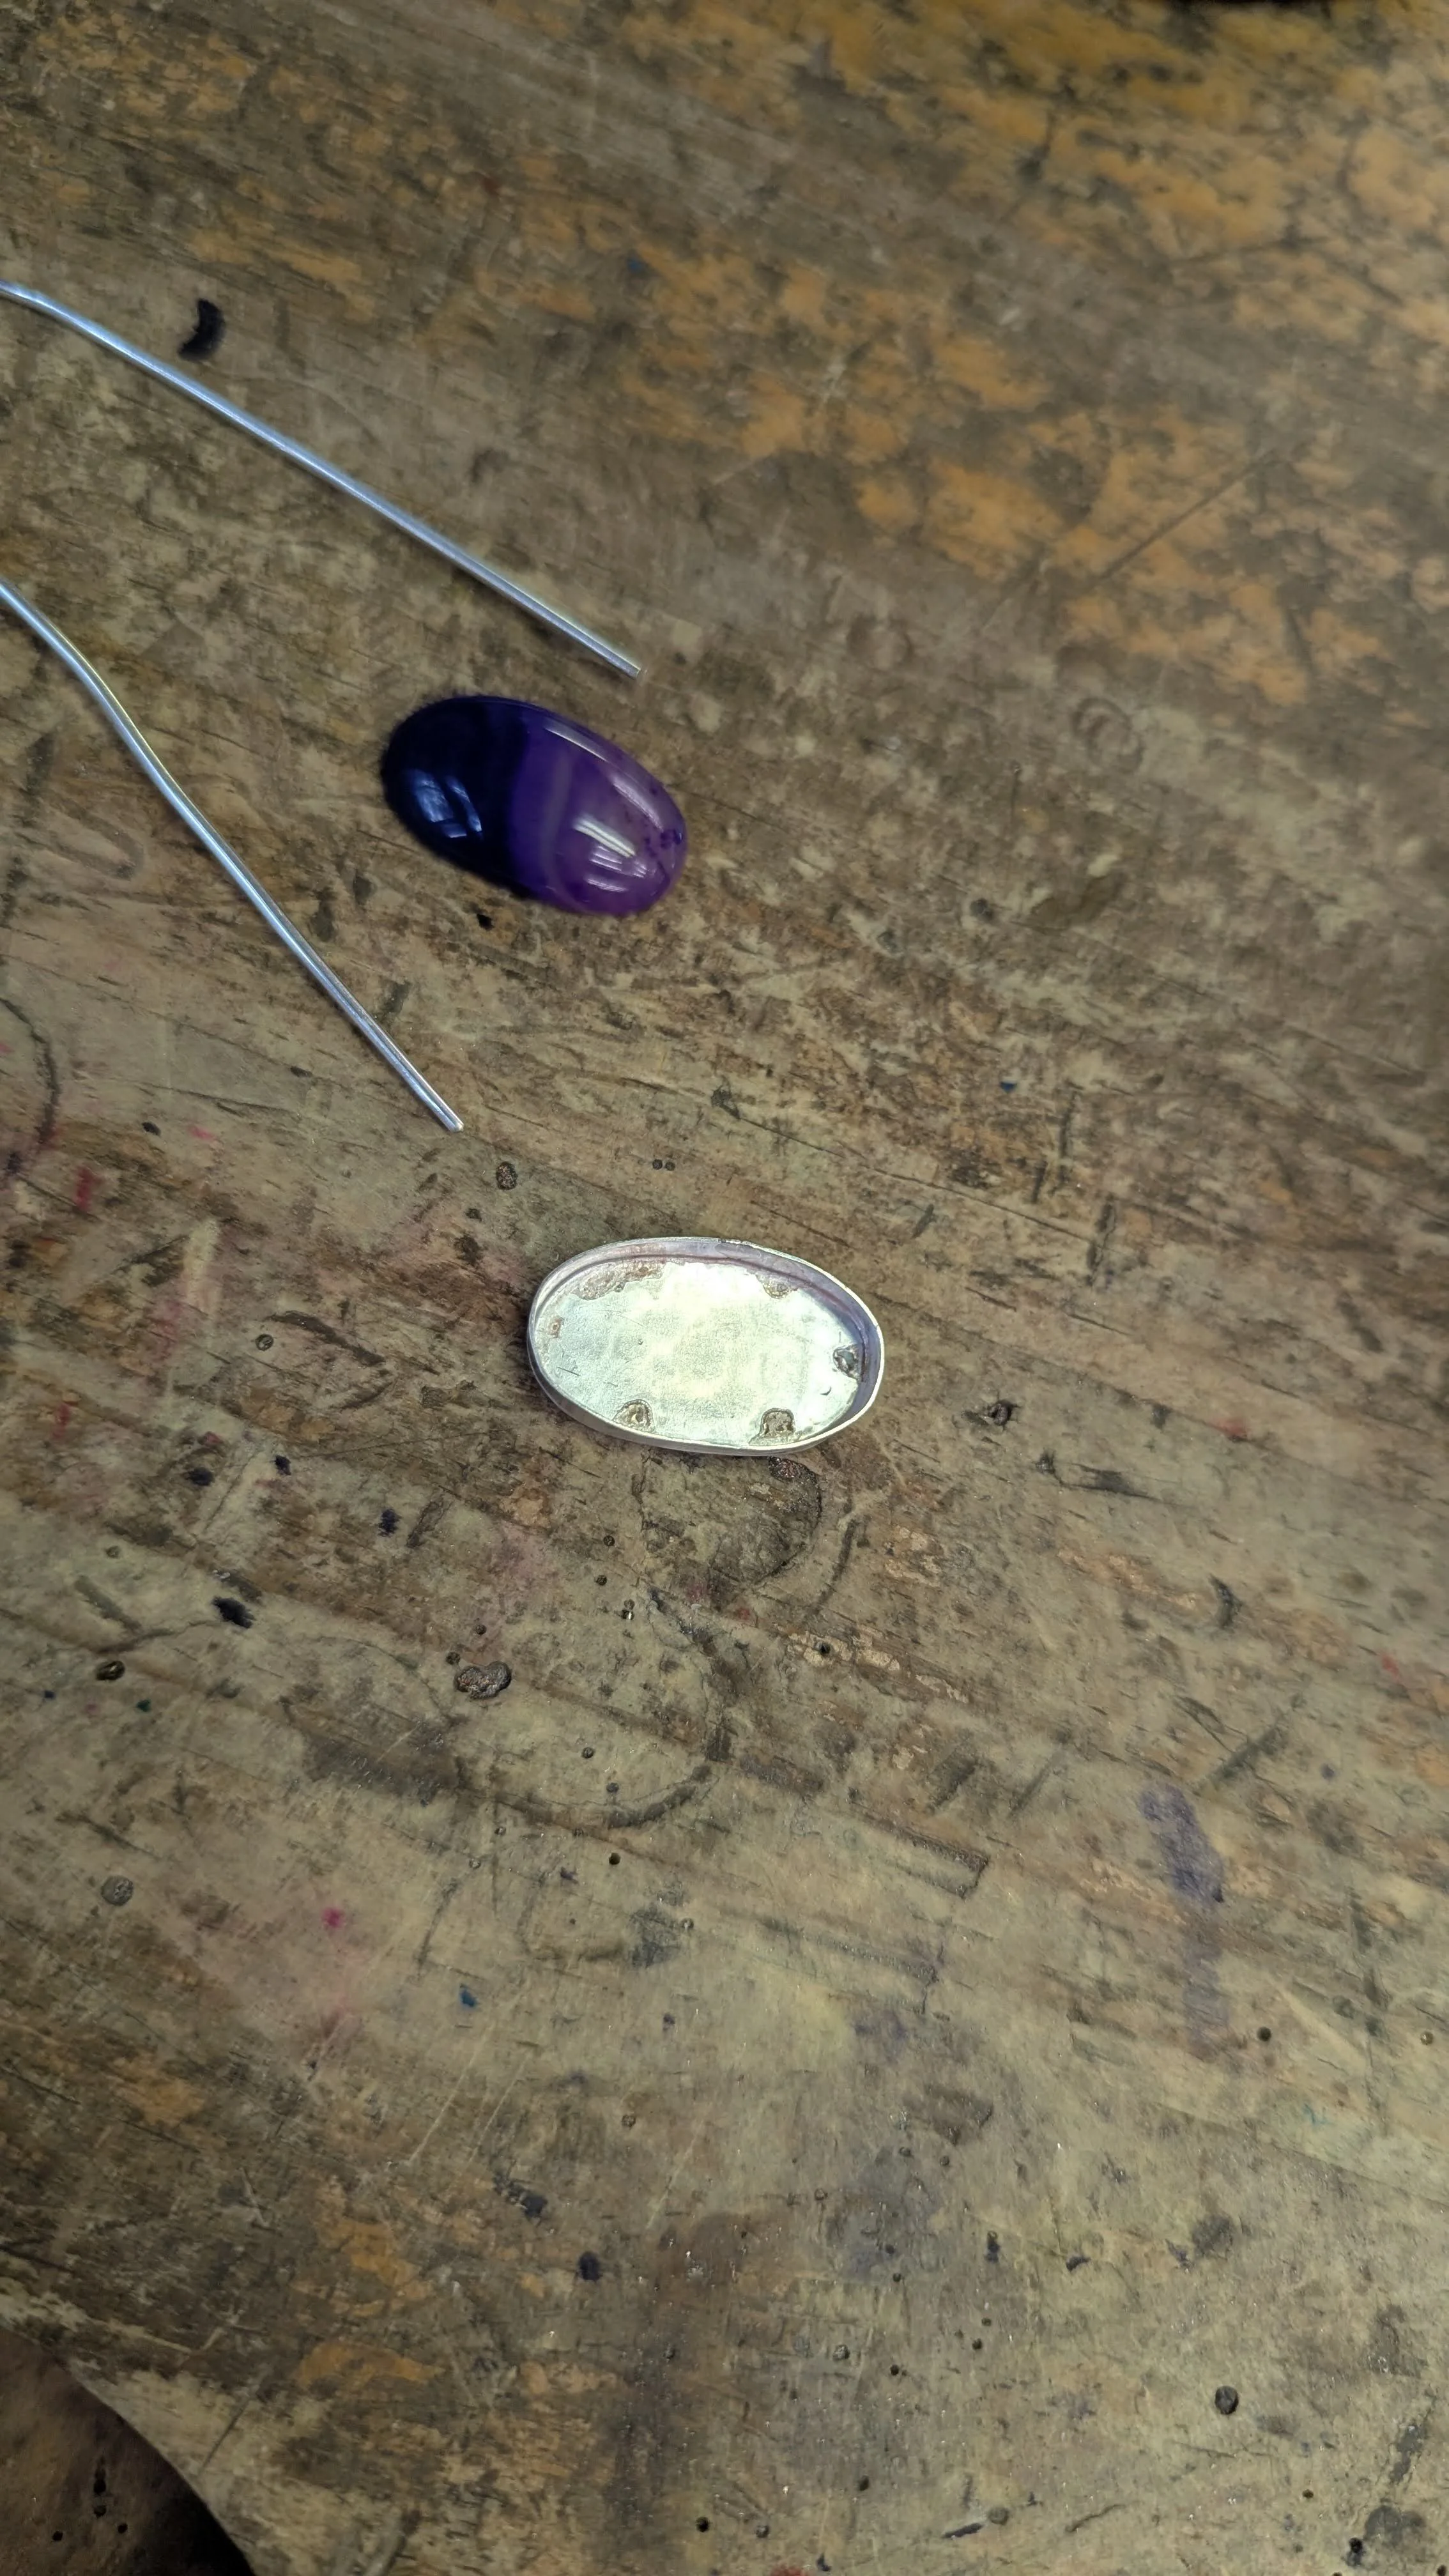
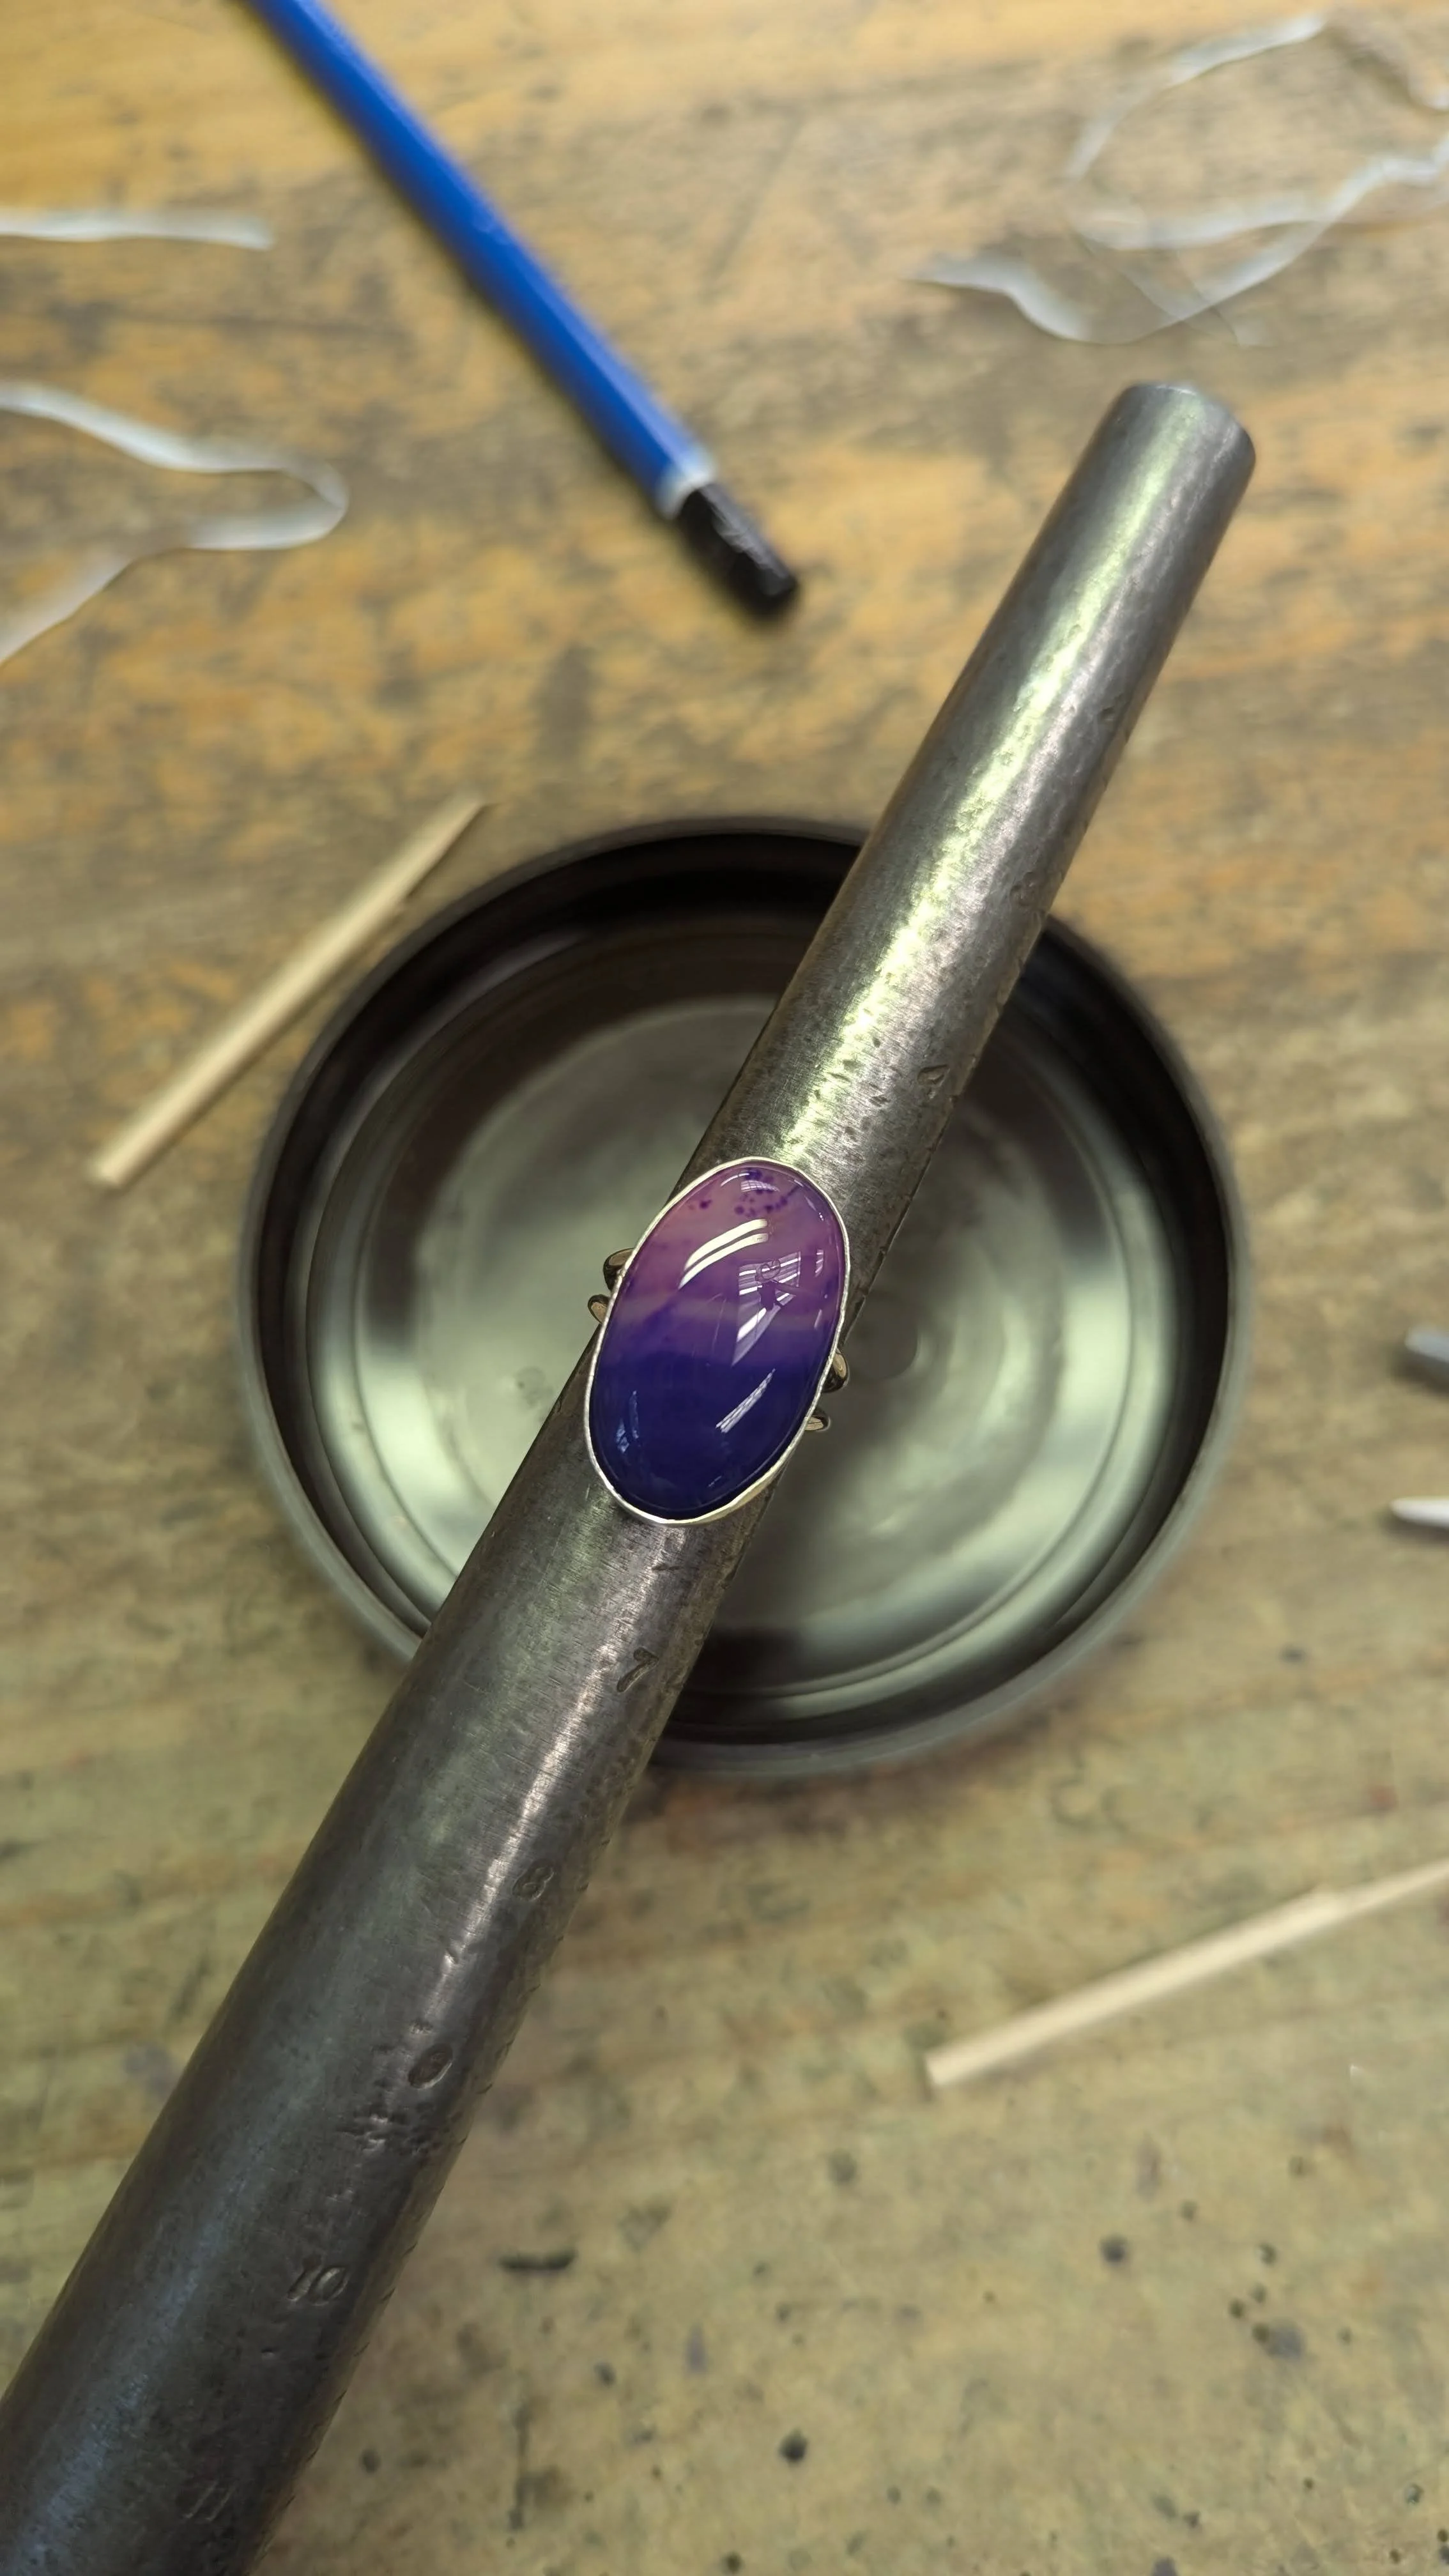
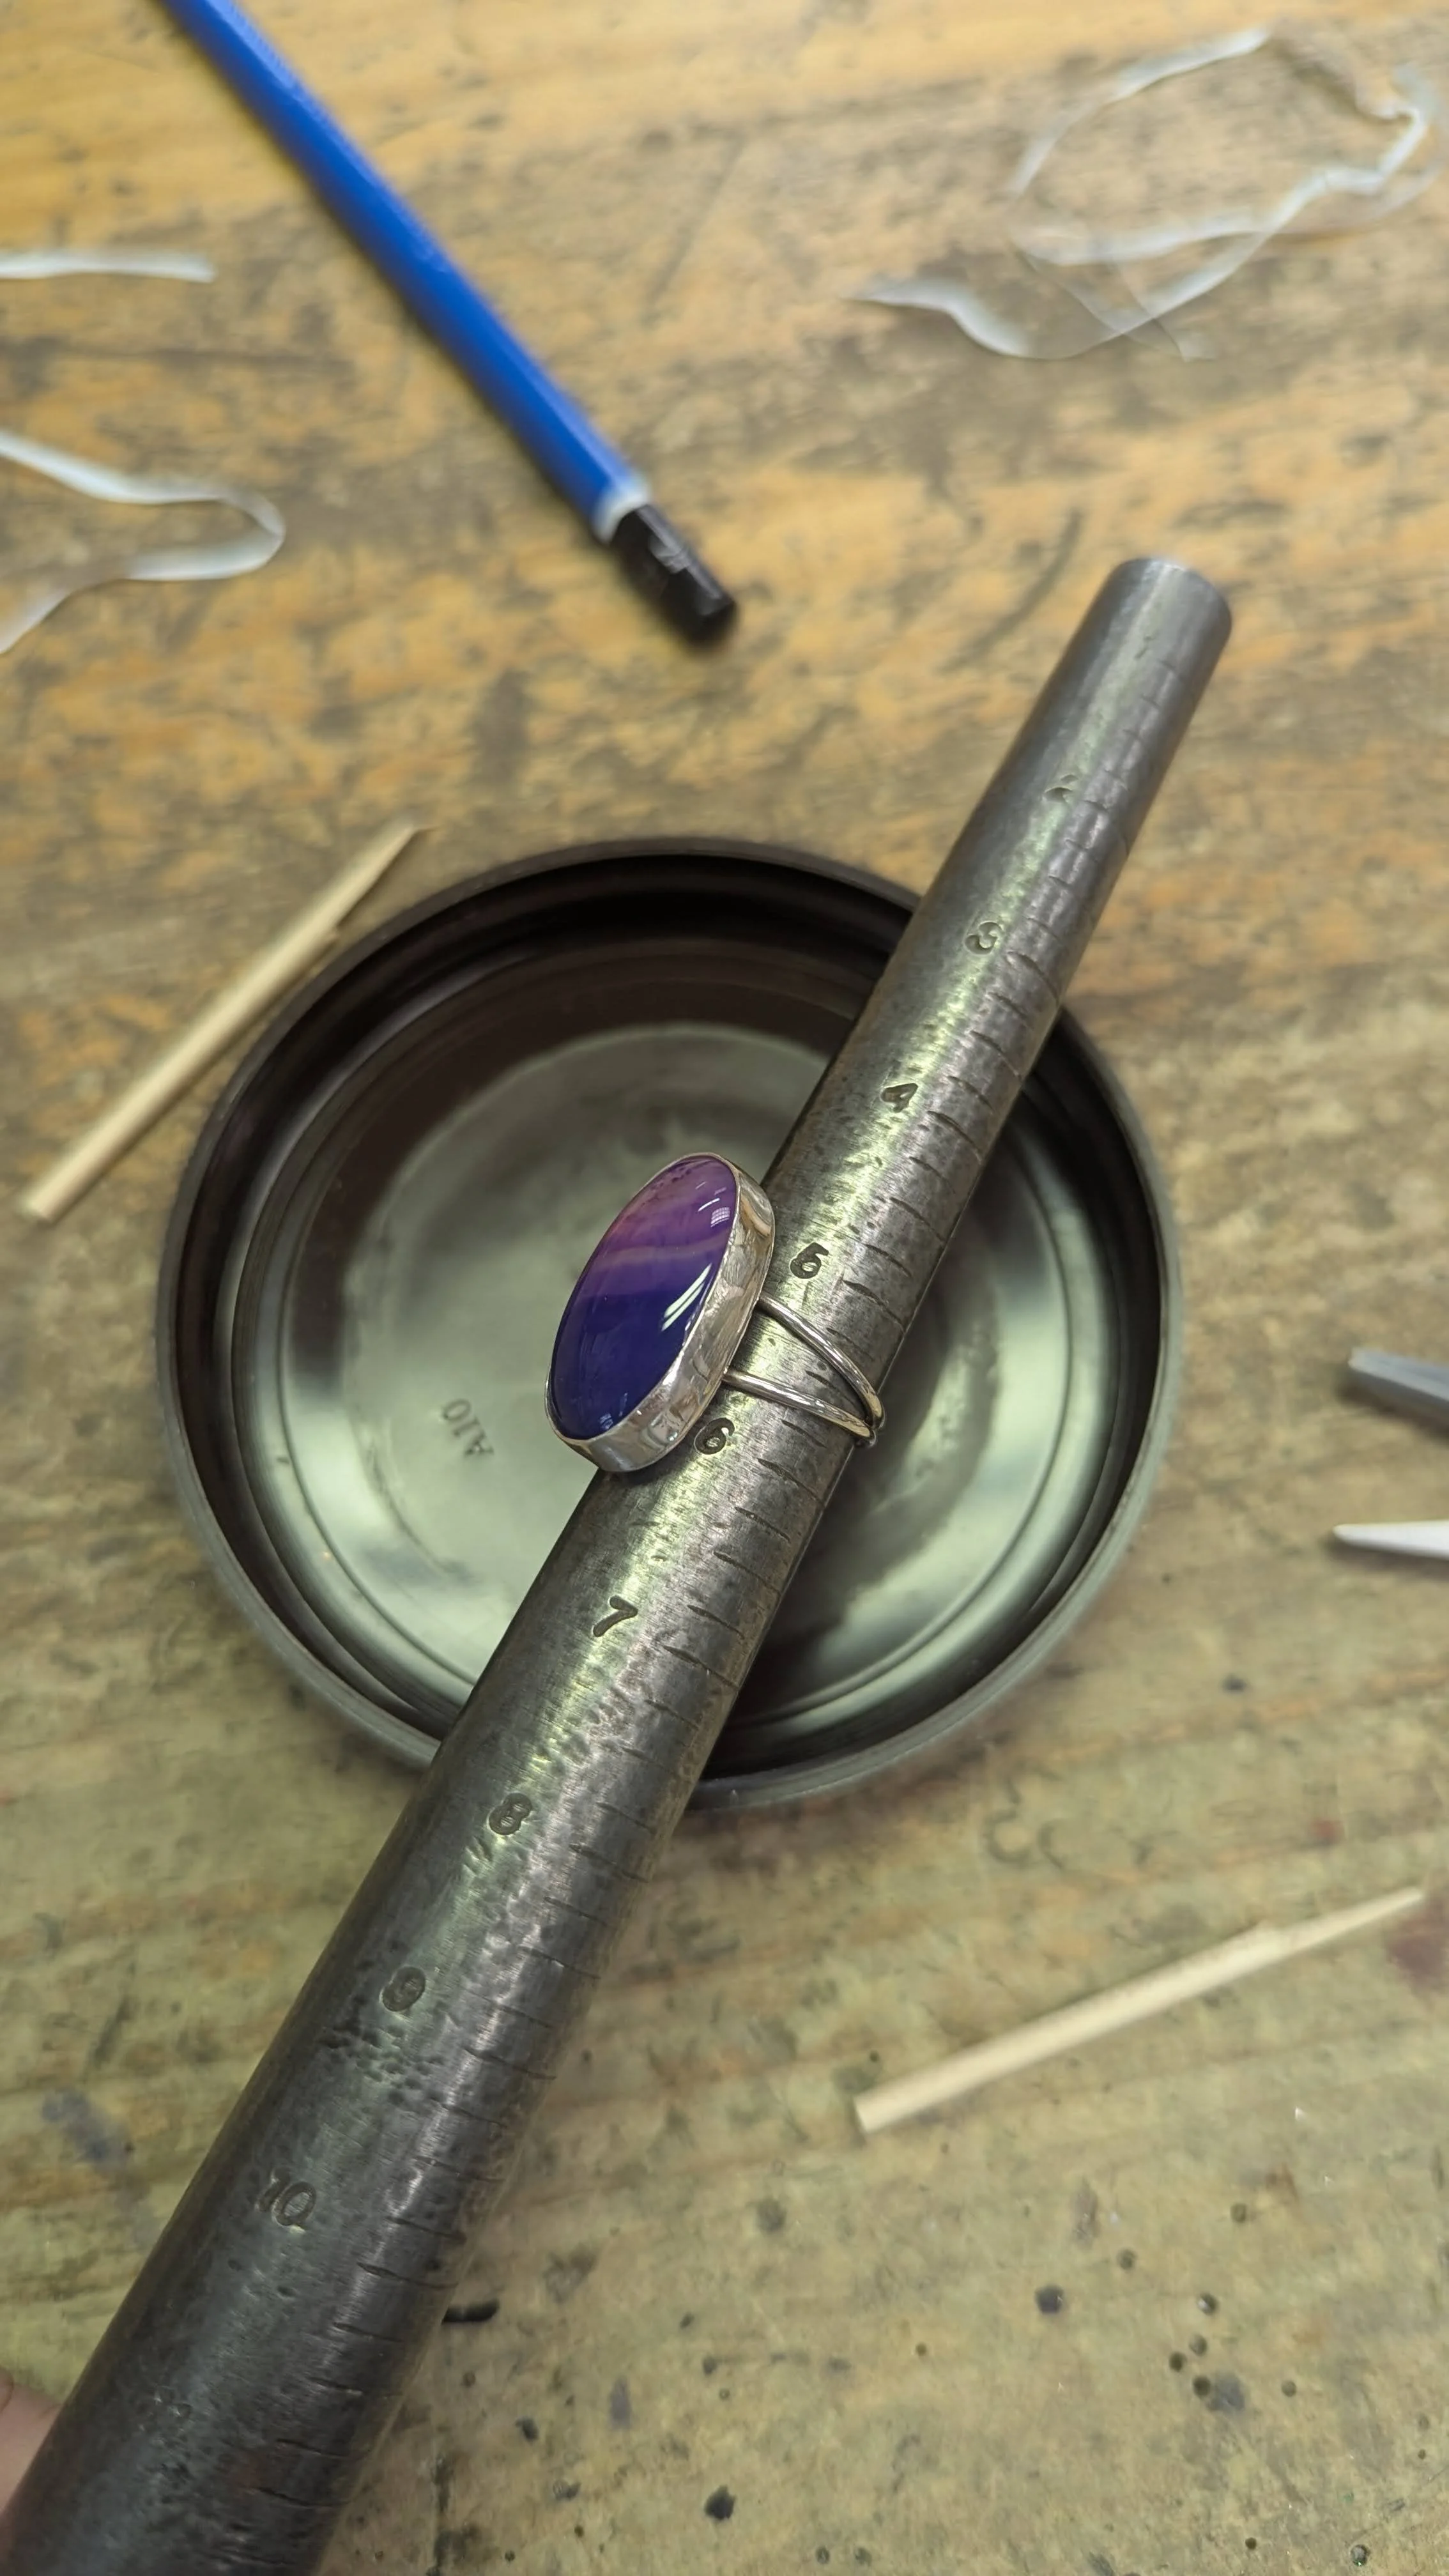
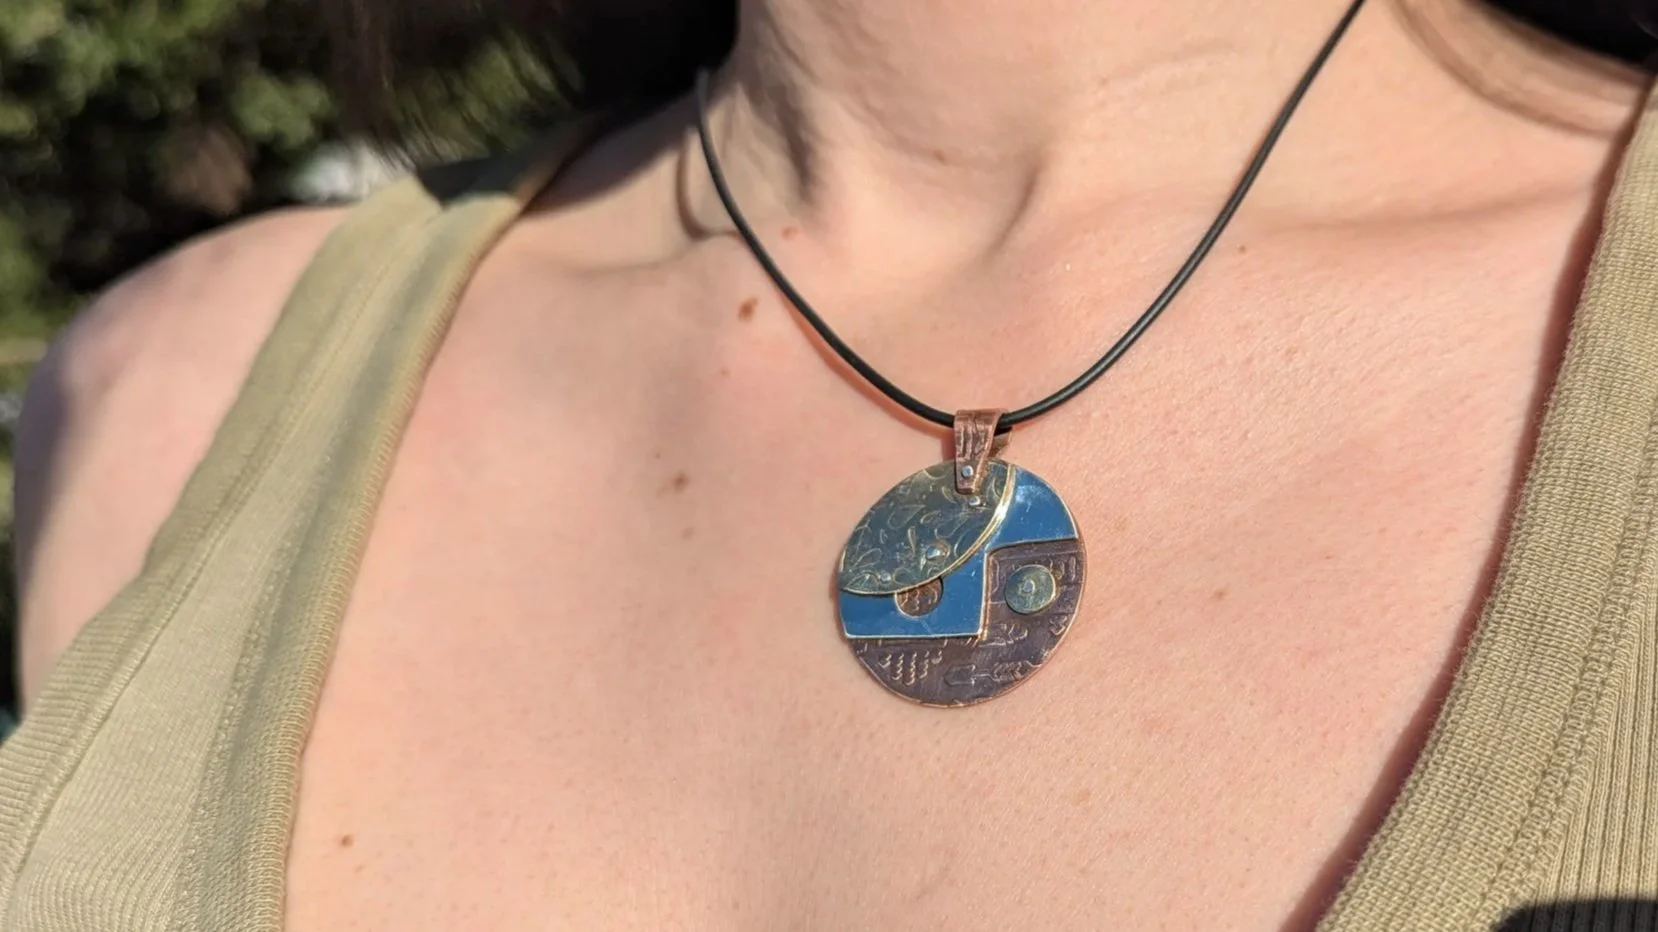
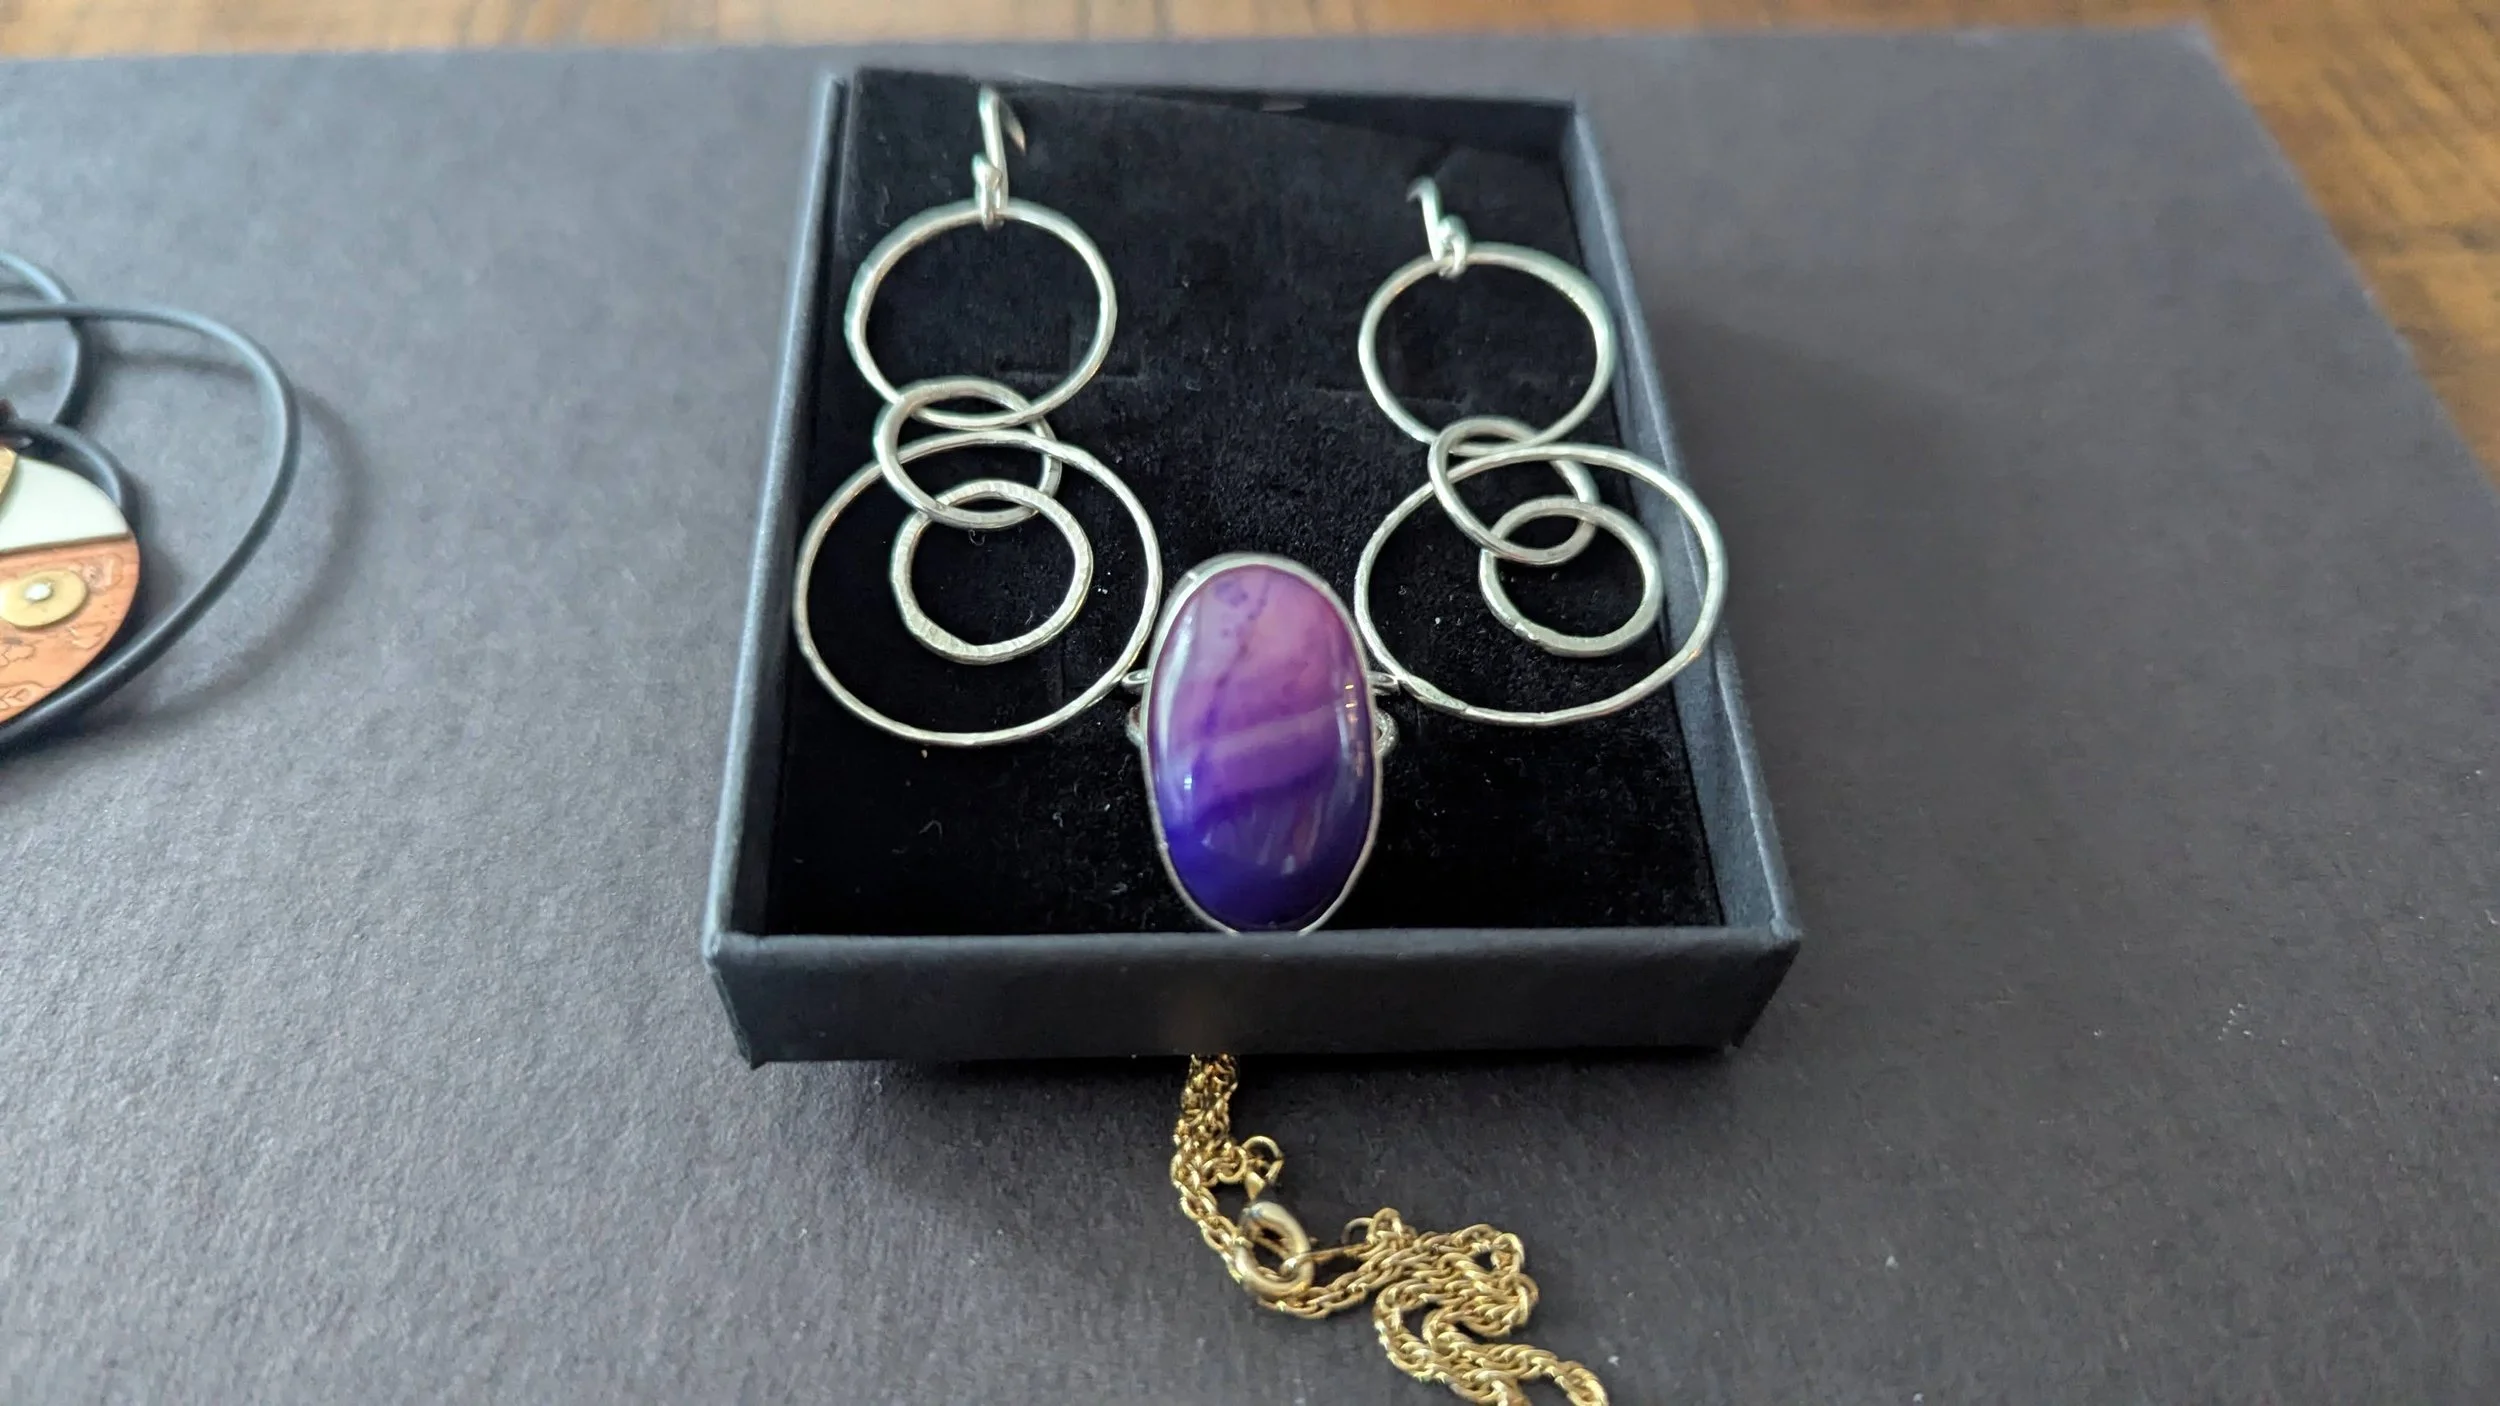
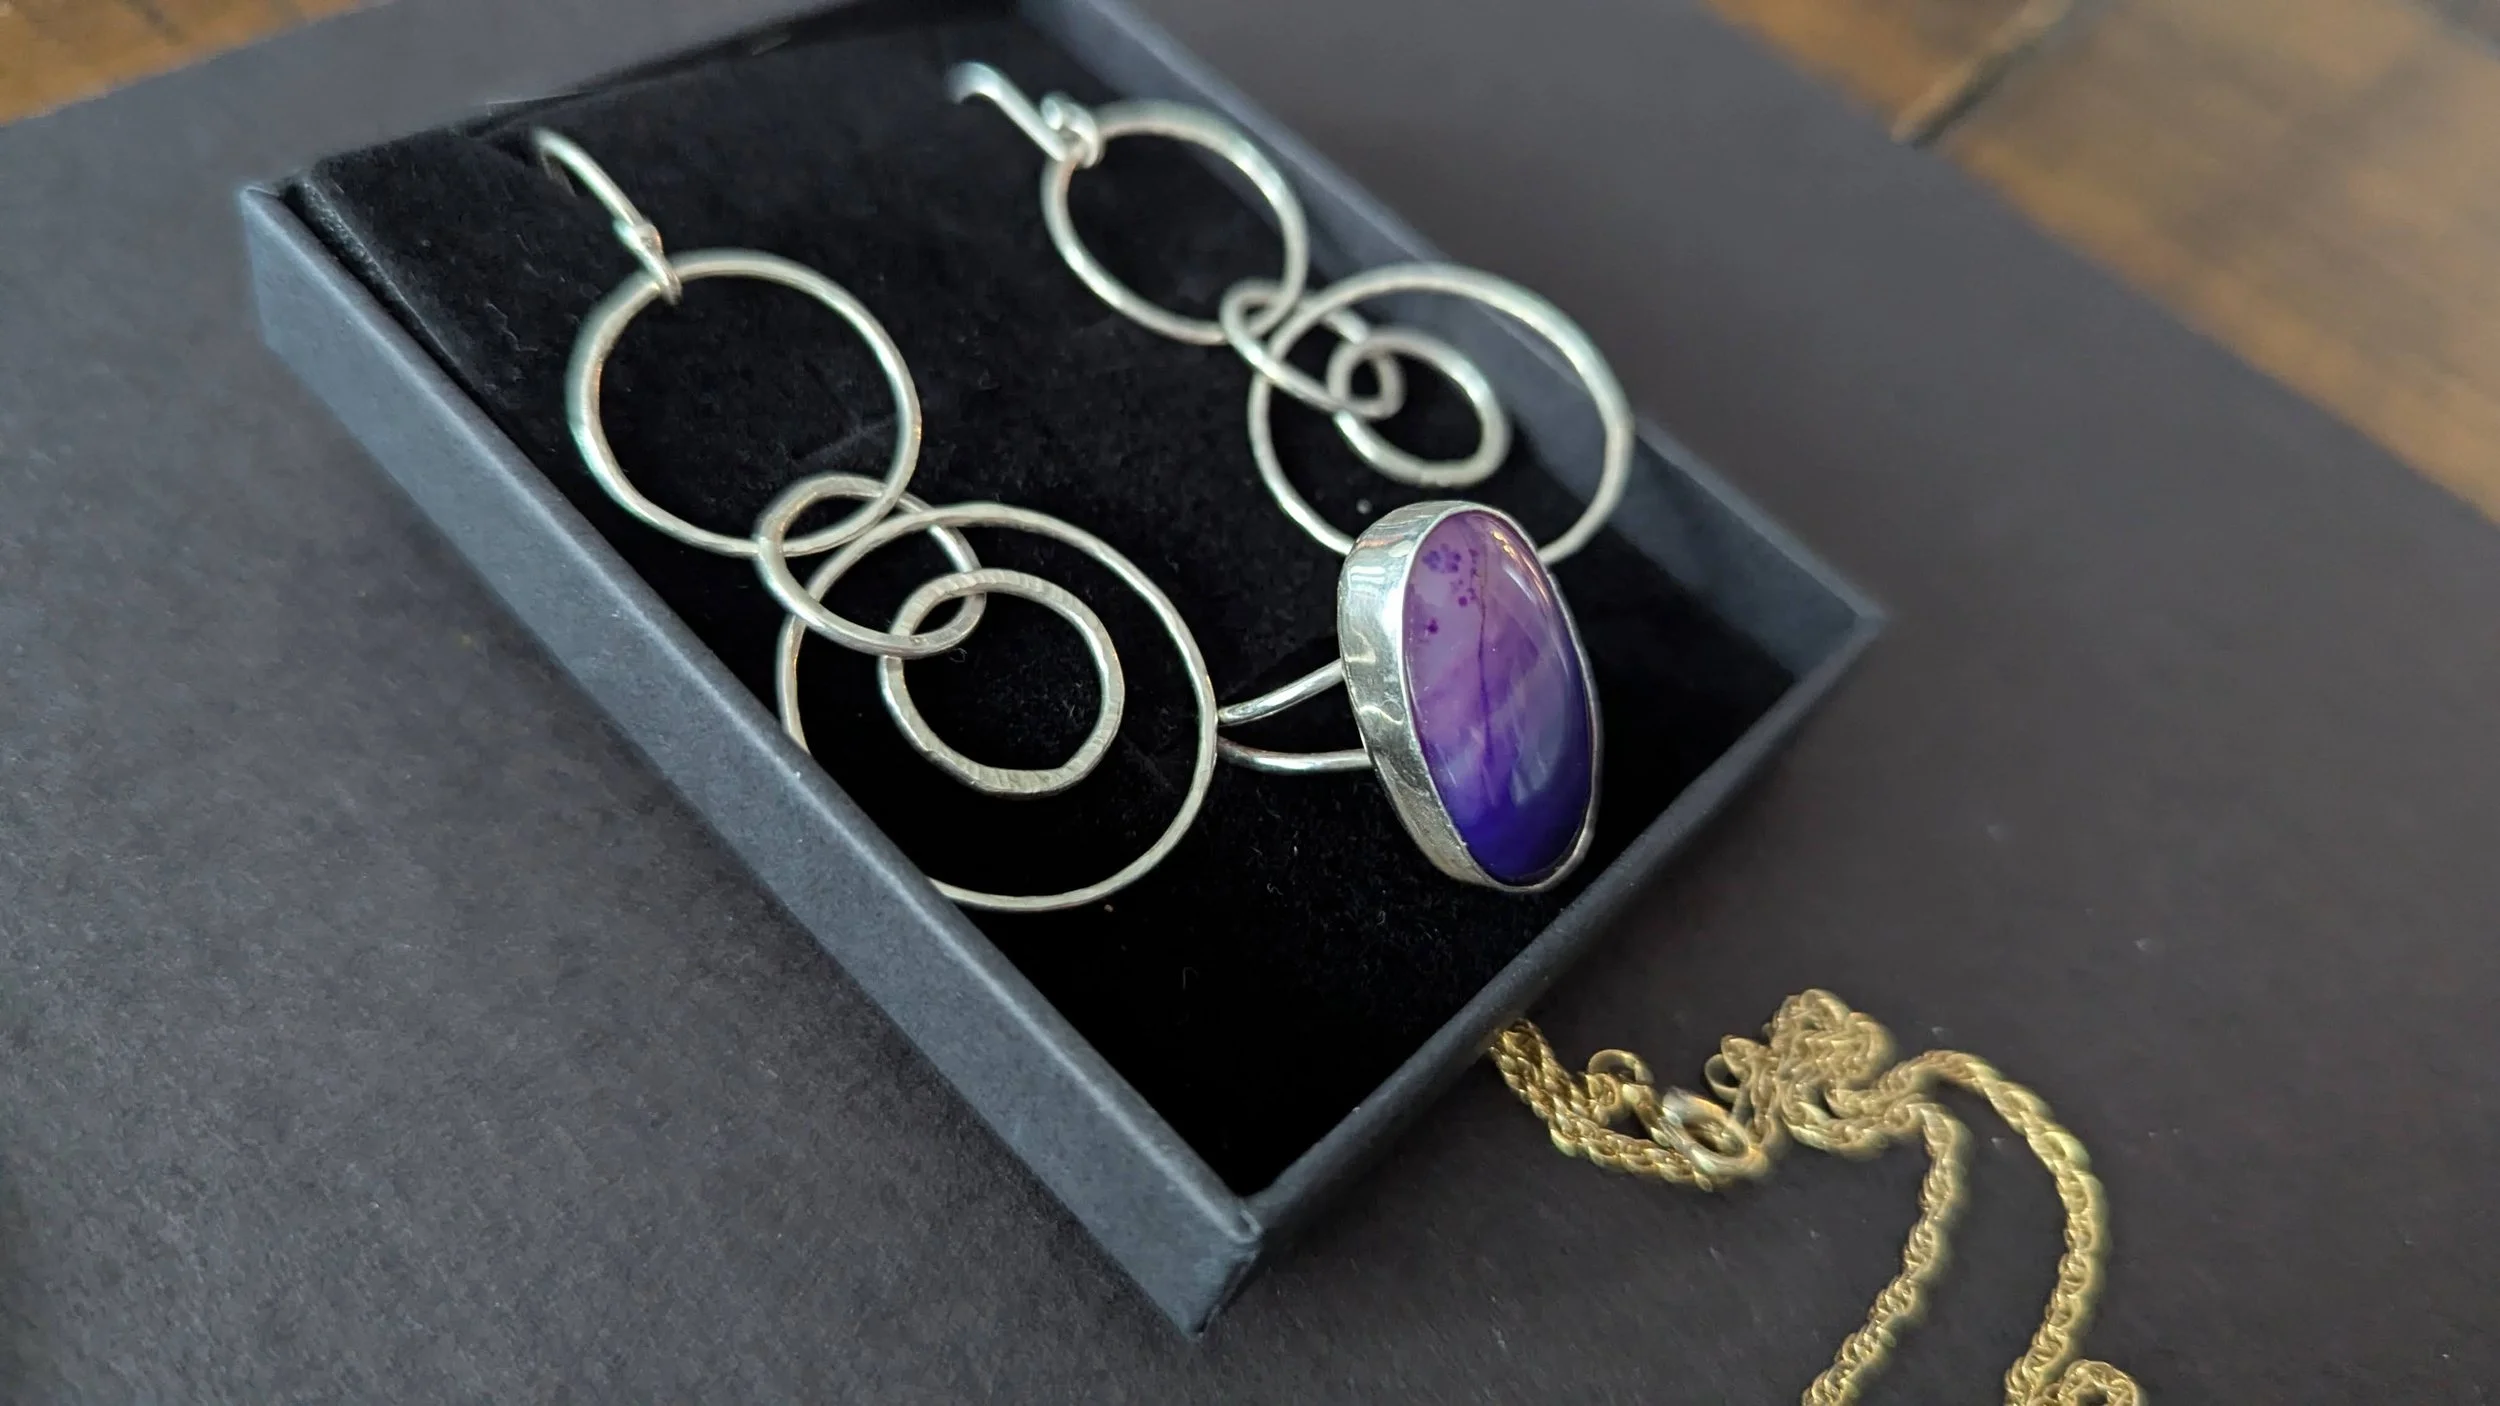
In weeks 3 and 4 I finished up my face pendant by putting that clasp thing on top to hold a chain. I also started on this ring which is quite large and I get the sense Lo will never wear it.
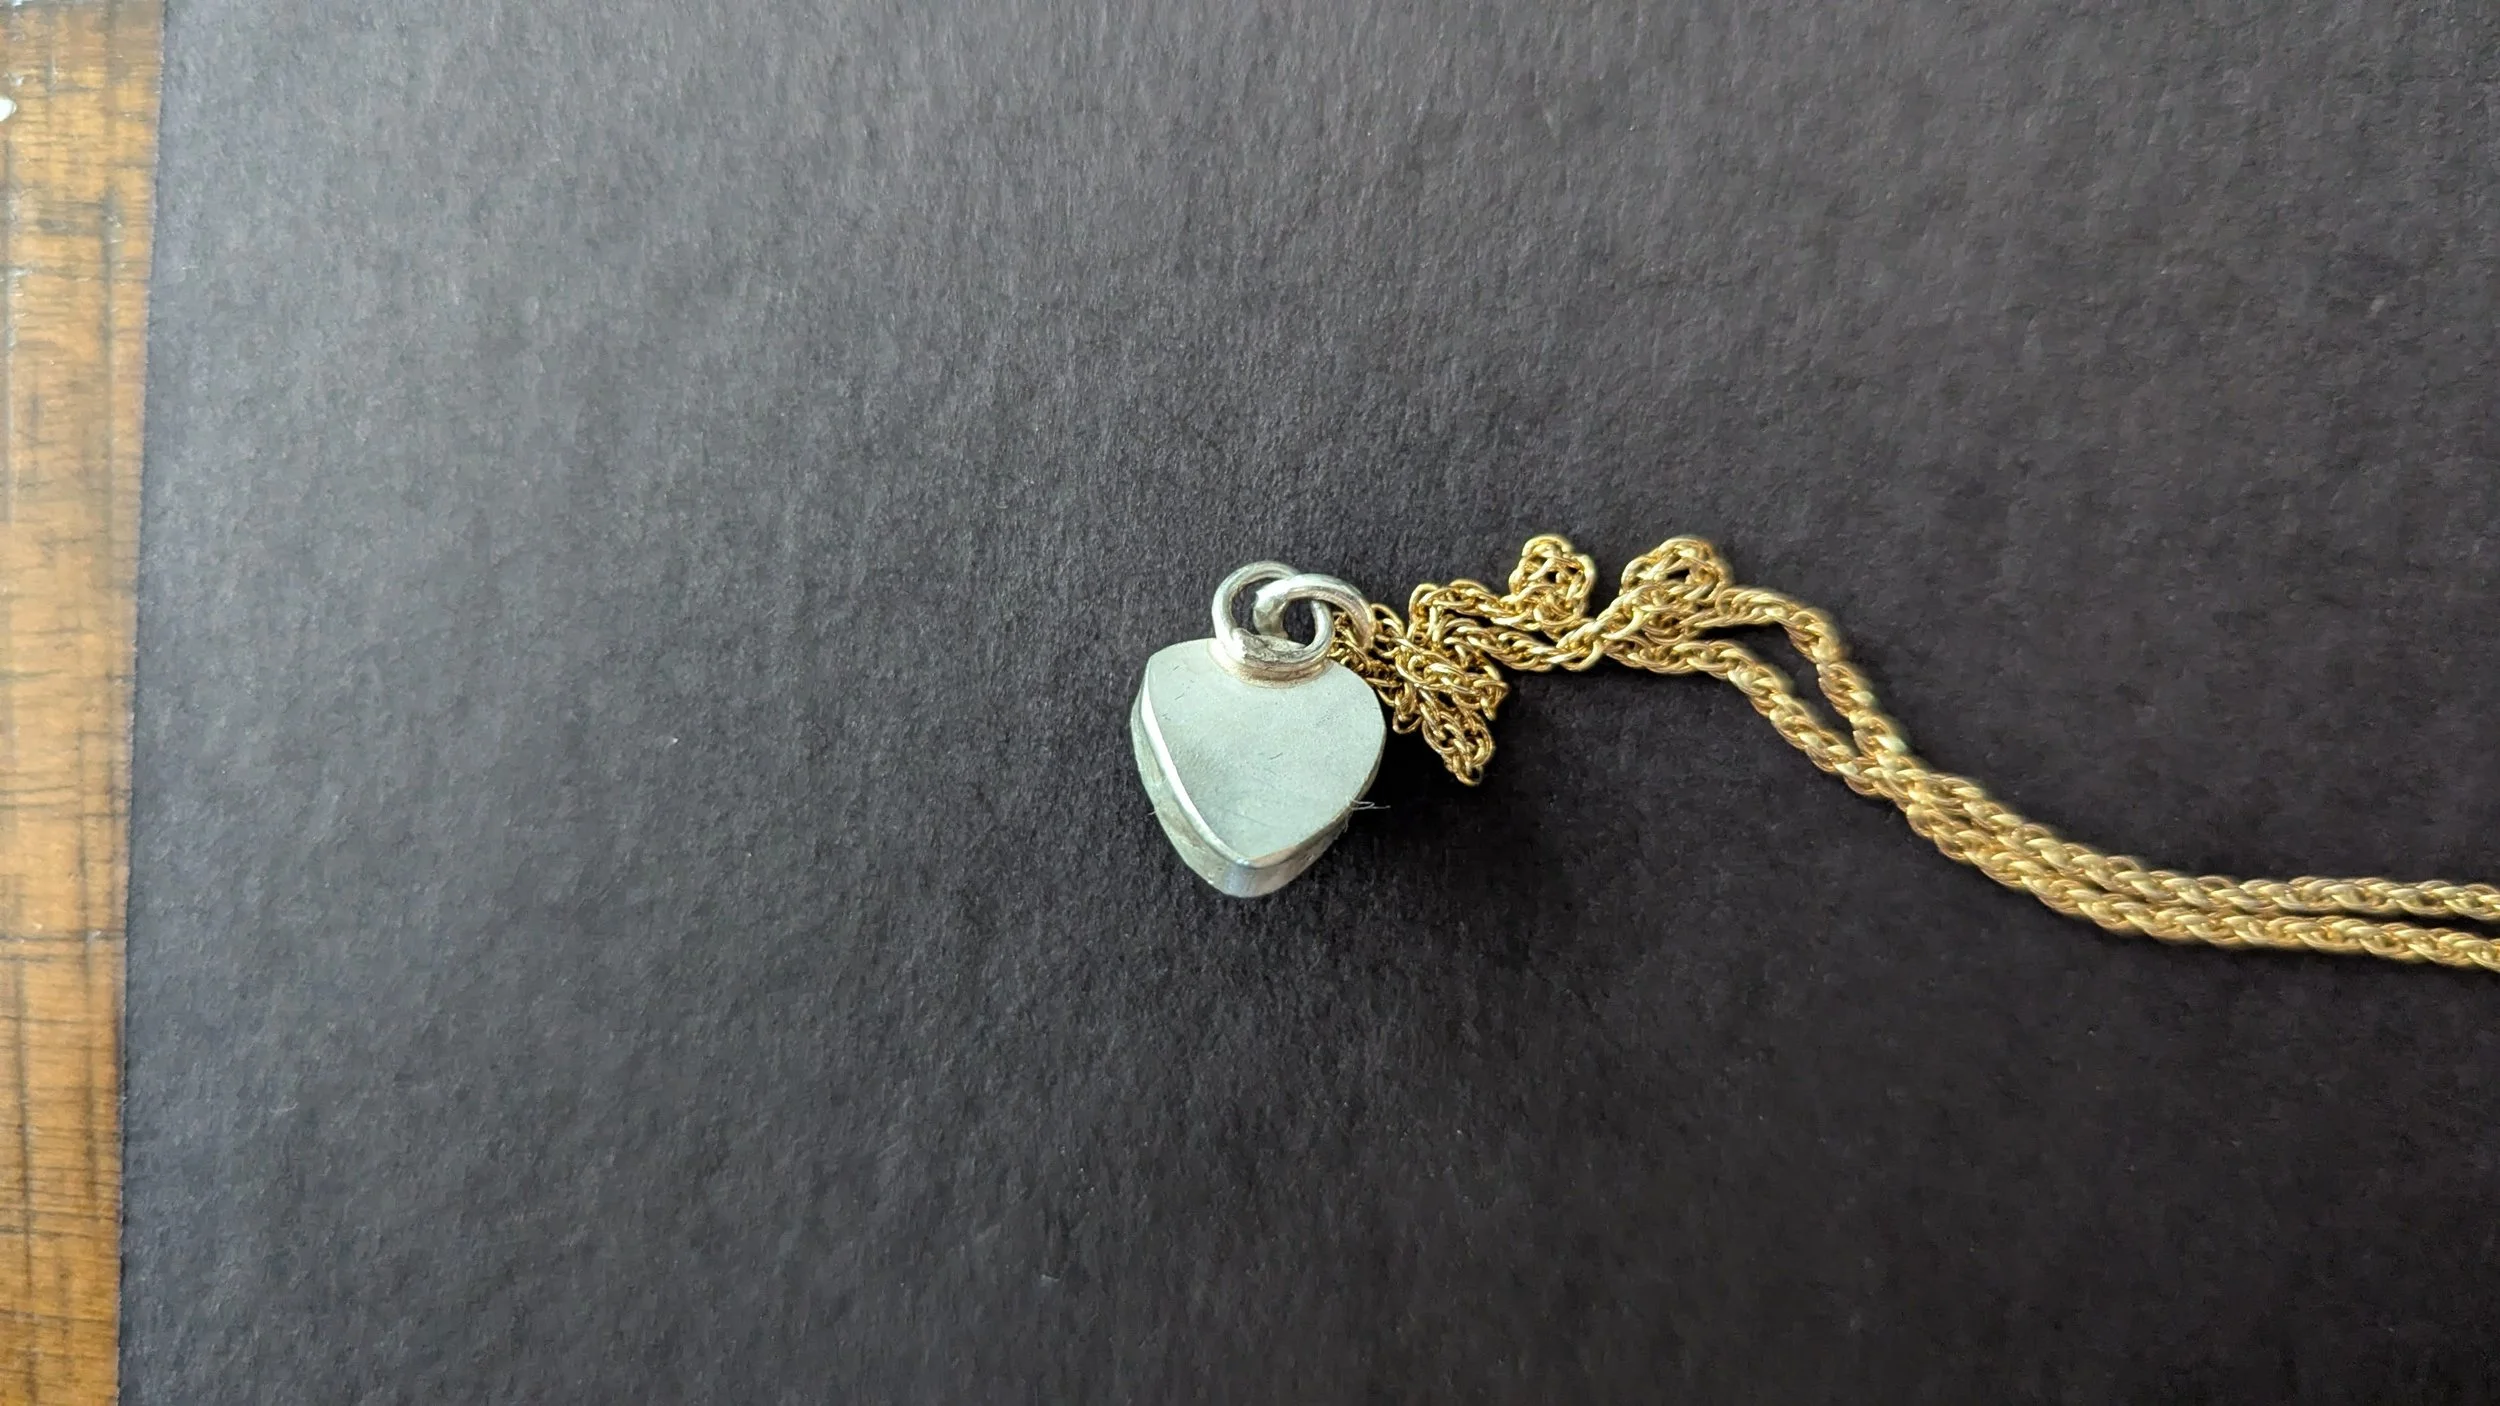
At the end of week 4 I started working on another small pendant with my left over silver. I think I might make it into a small ring tomorrow - the last day of jewelry.
Week 5
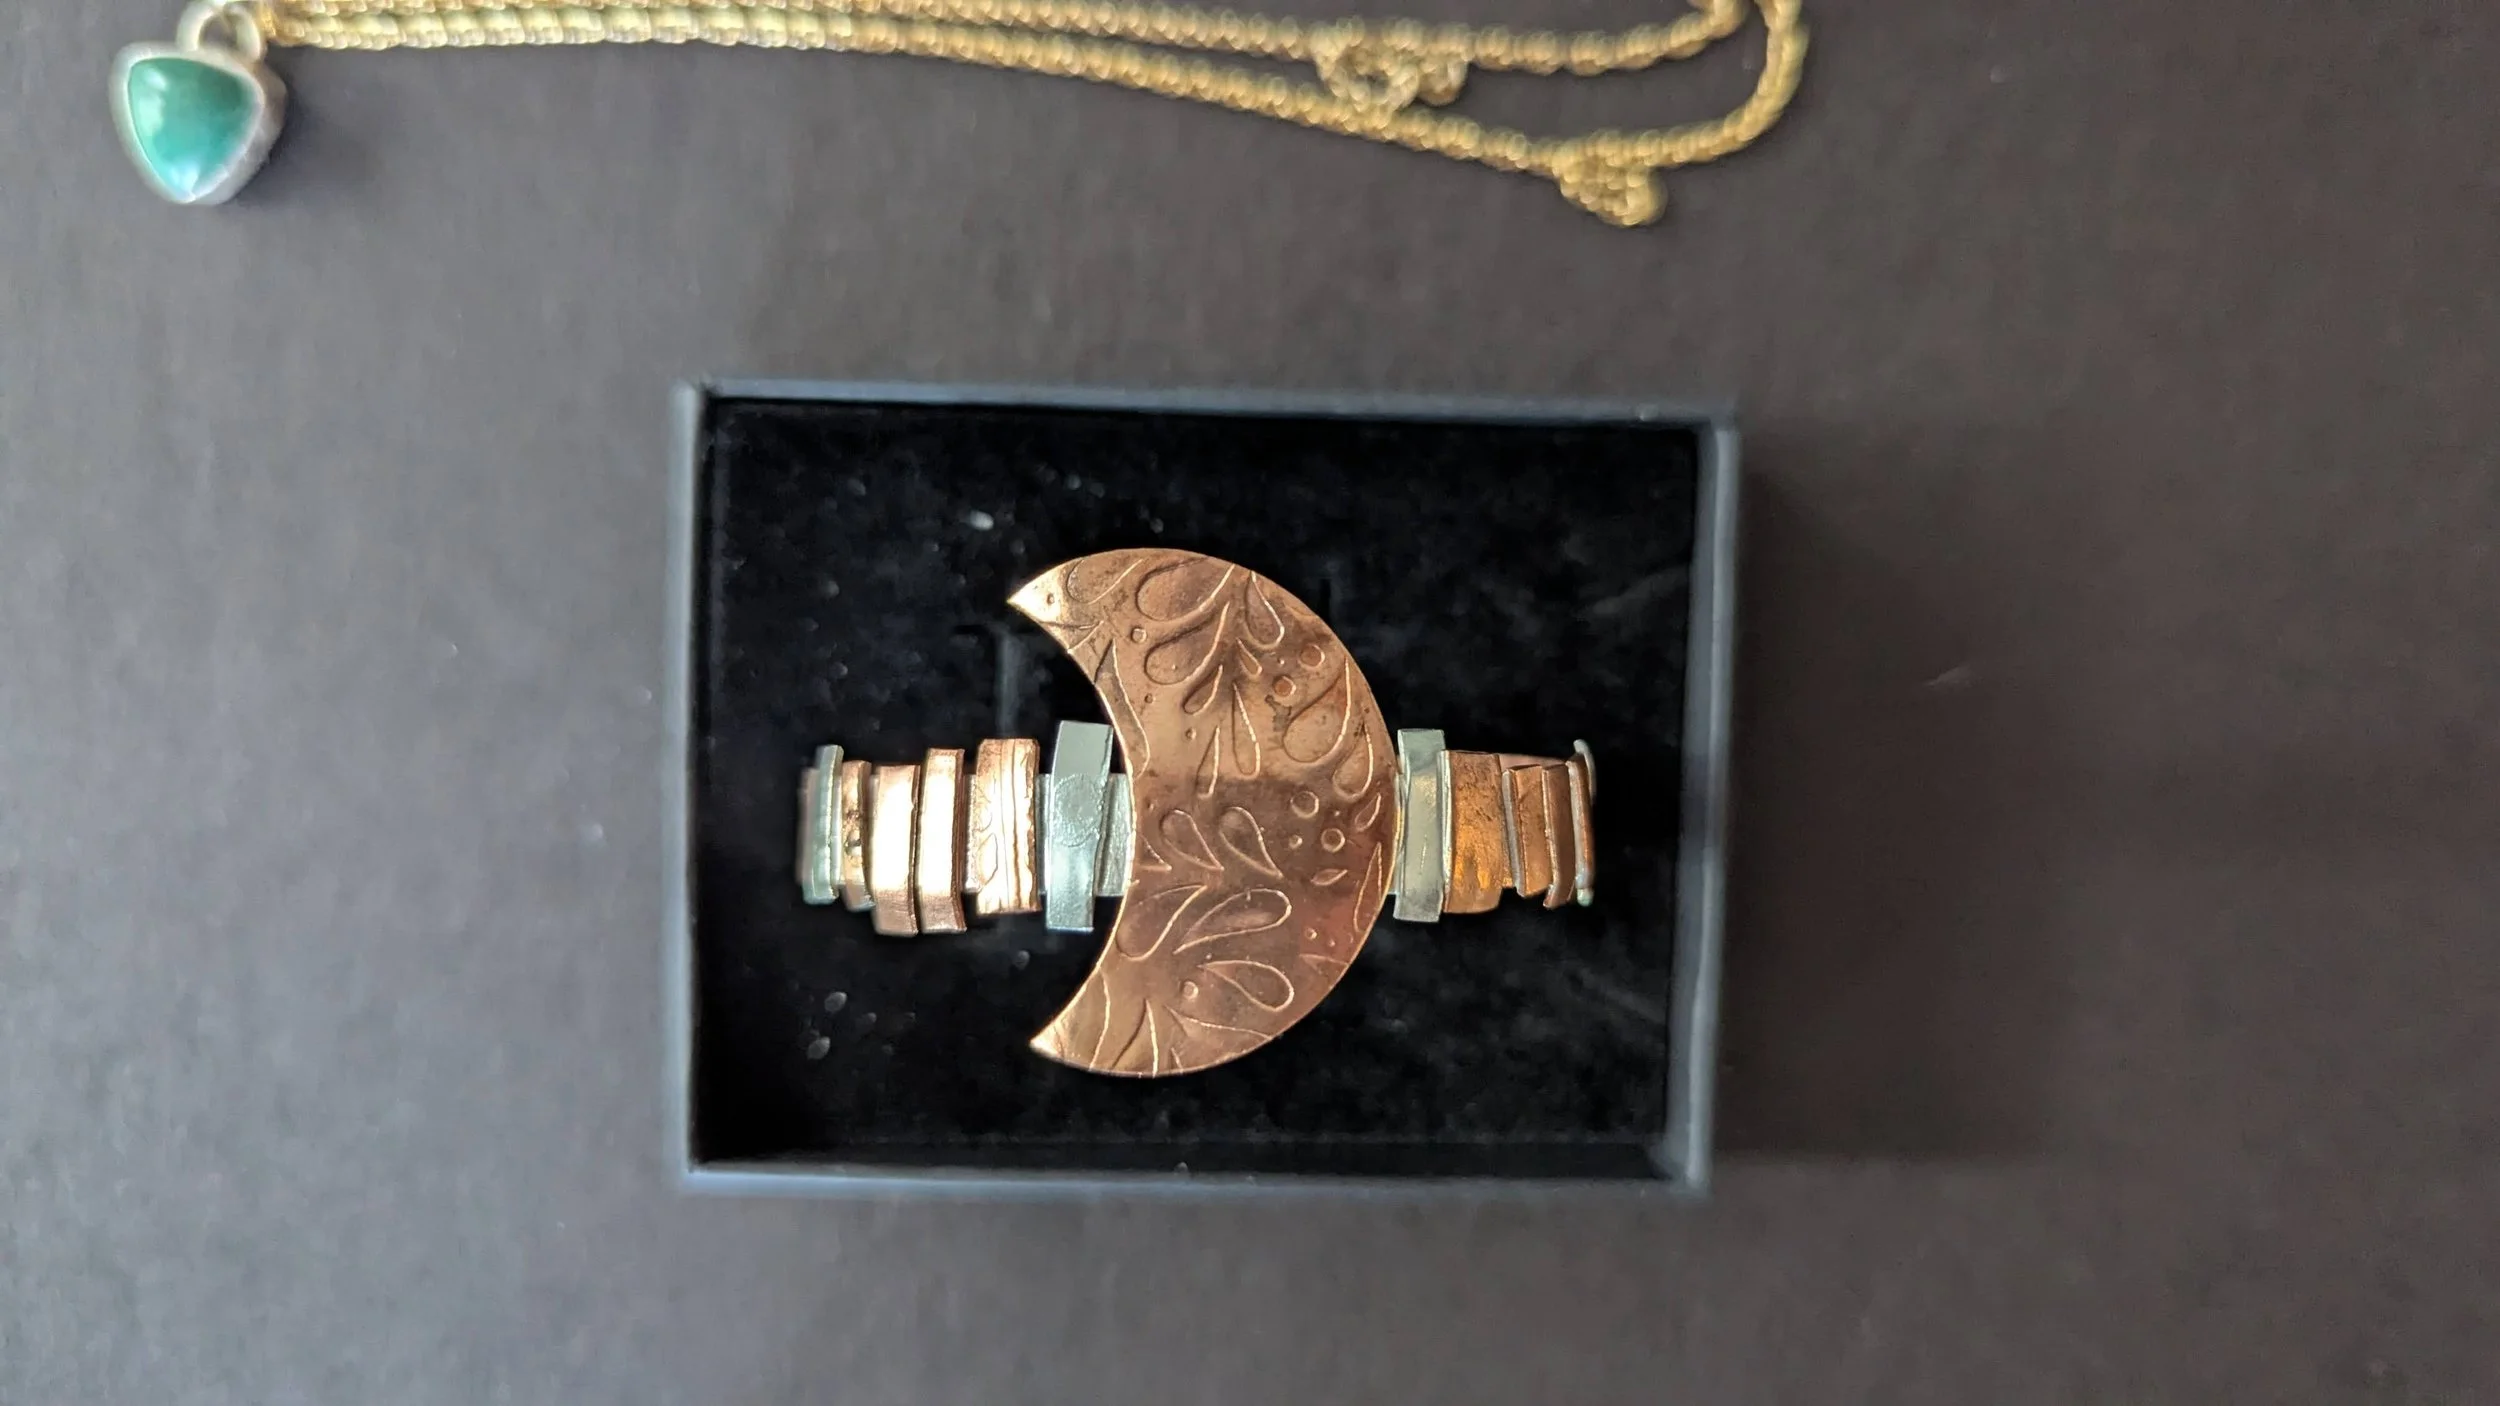
I don’t have any in-progress photos of these 2 pieces.
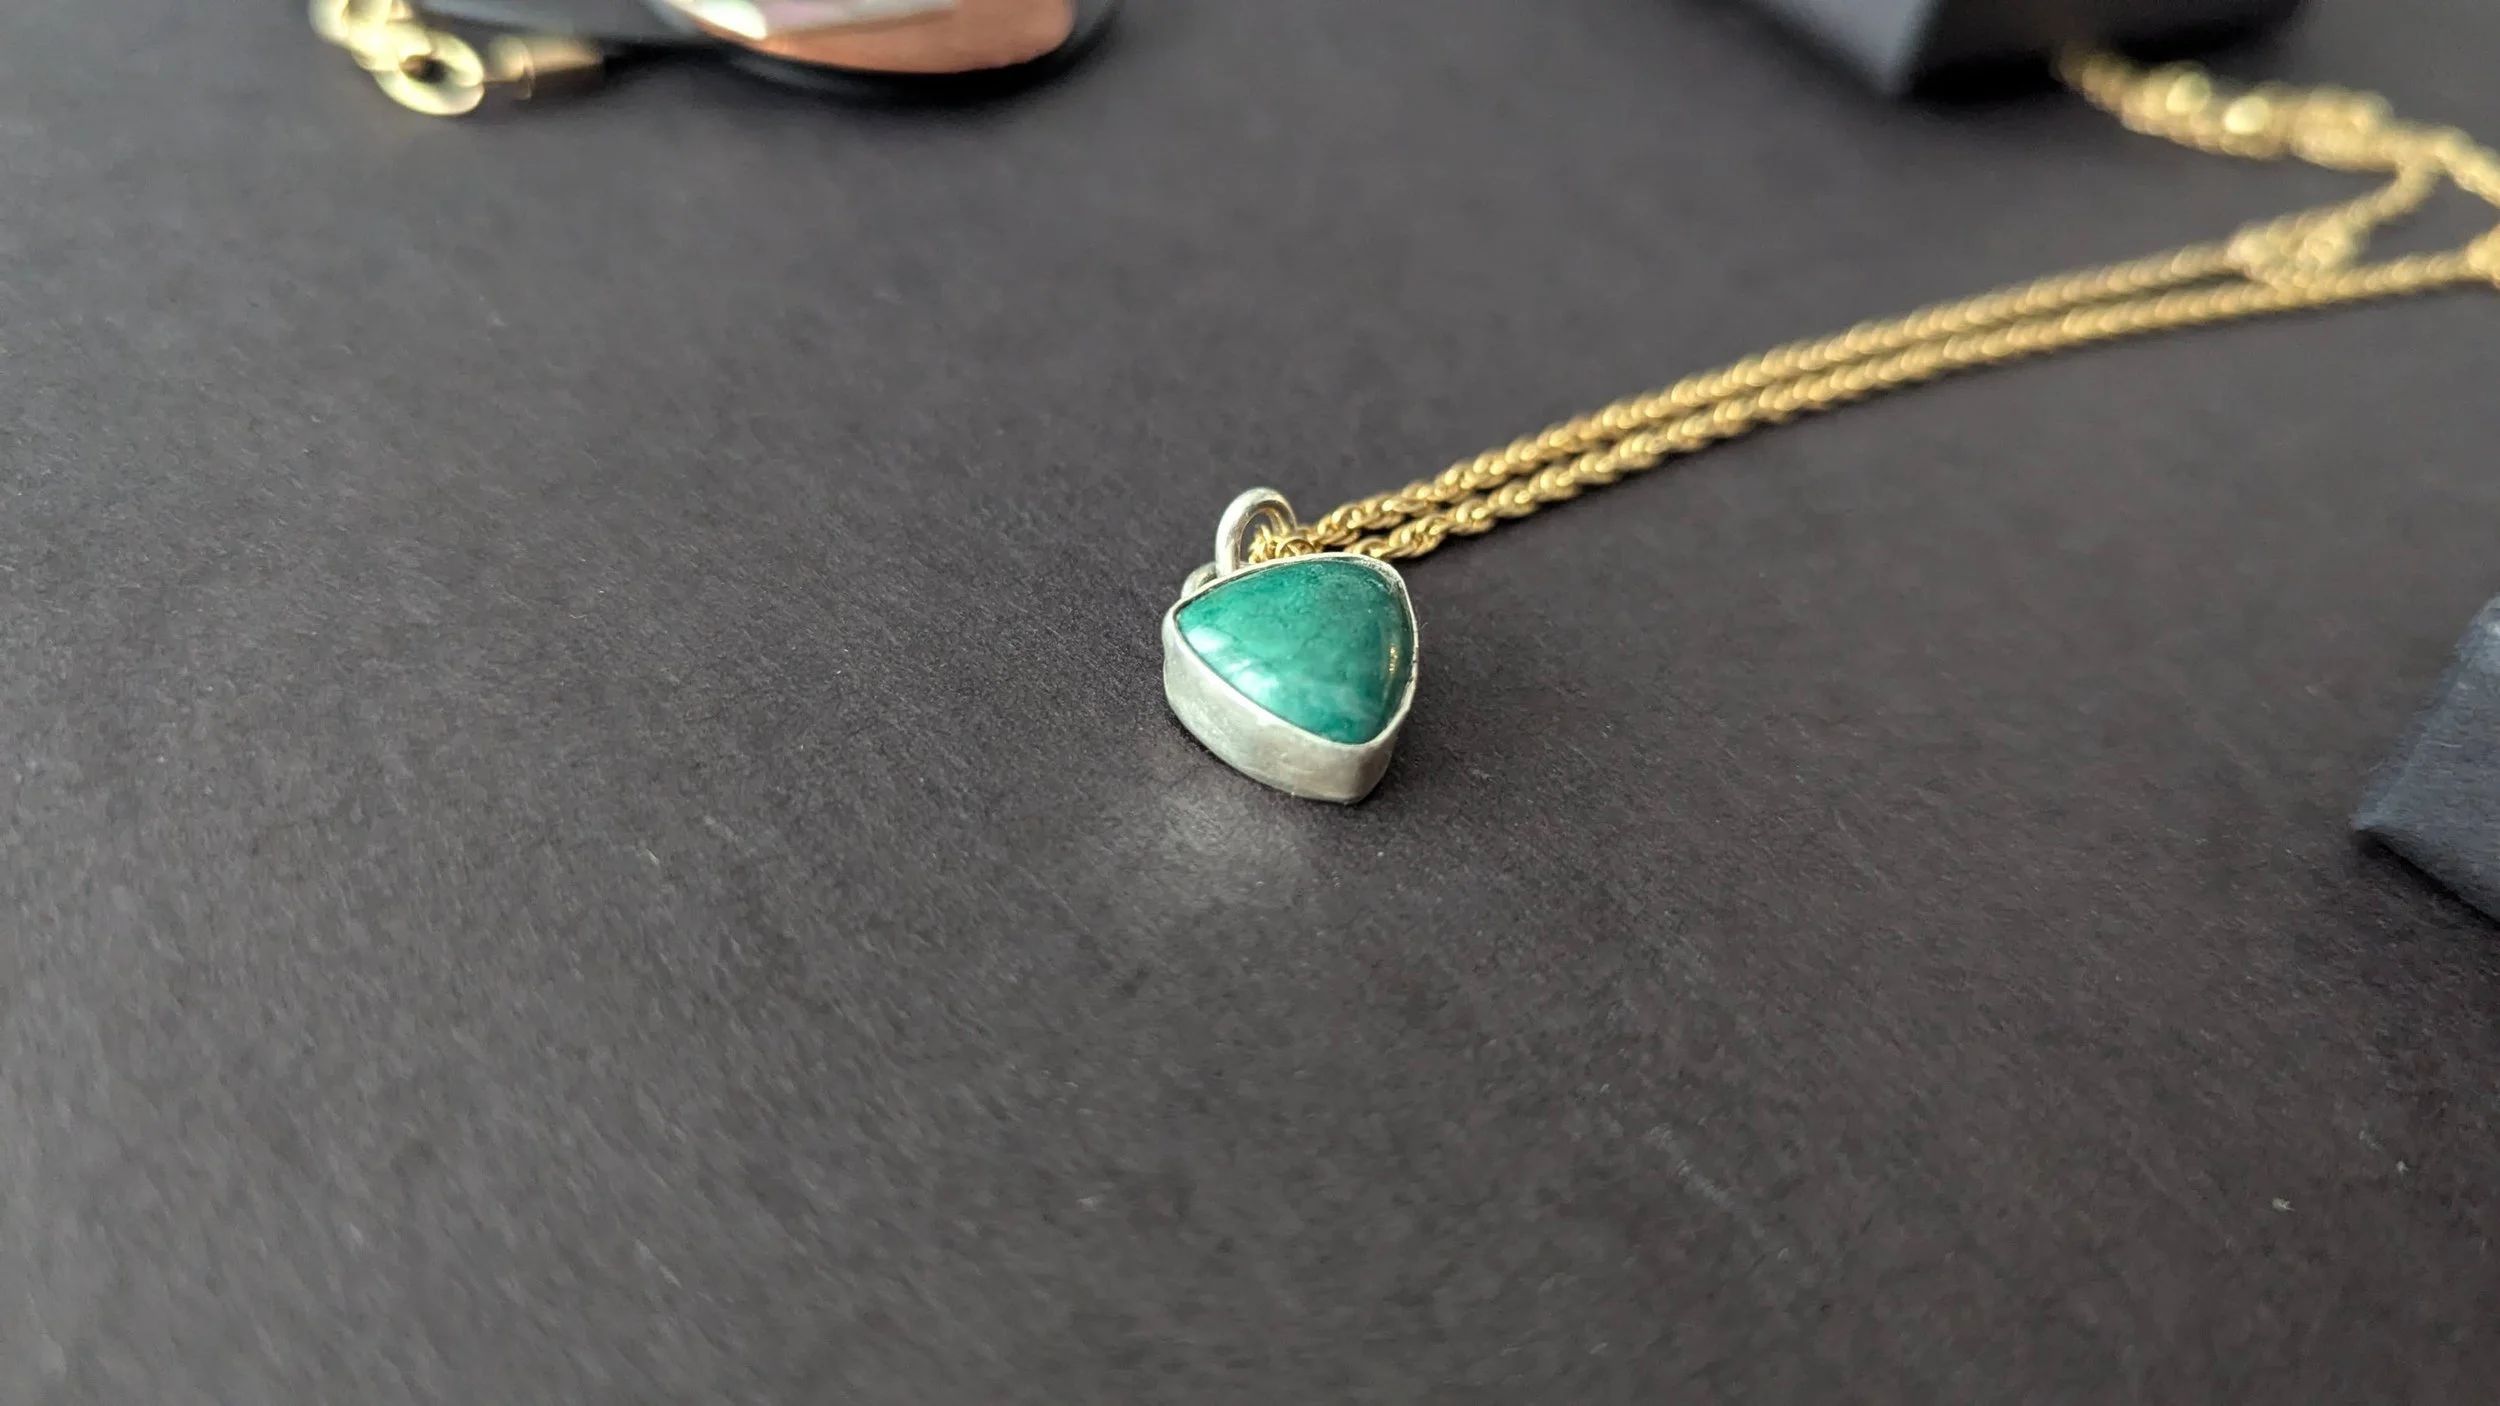
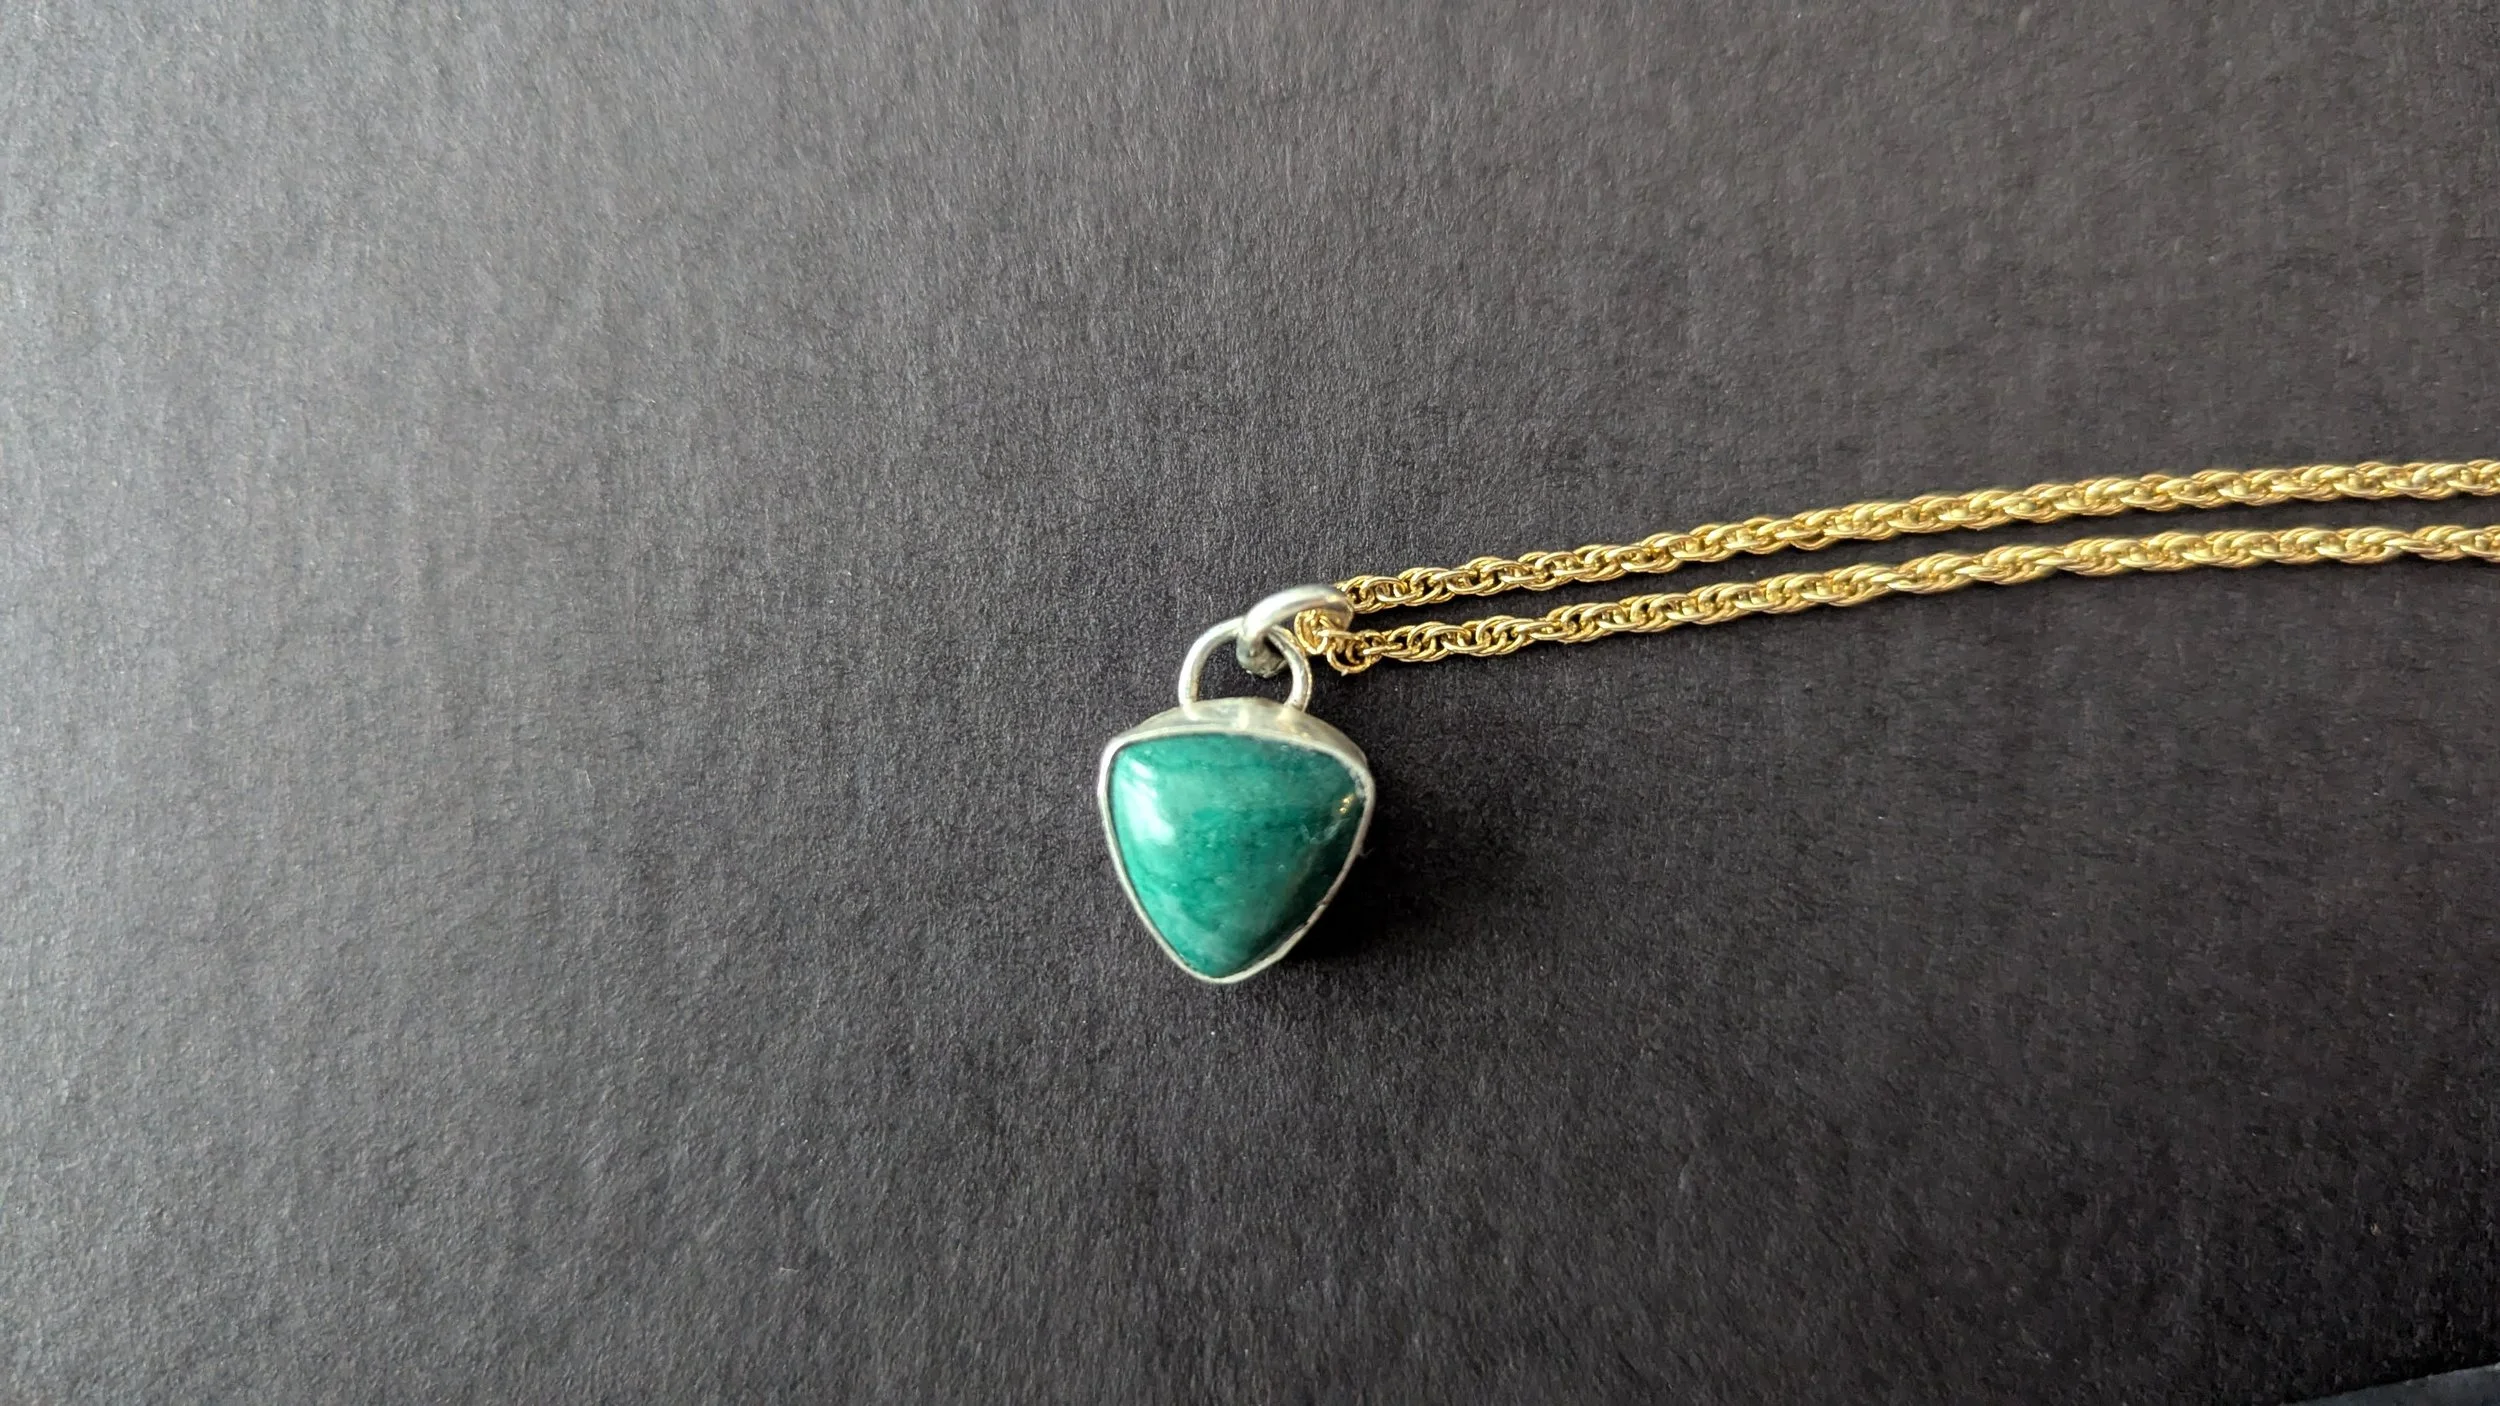
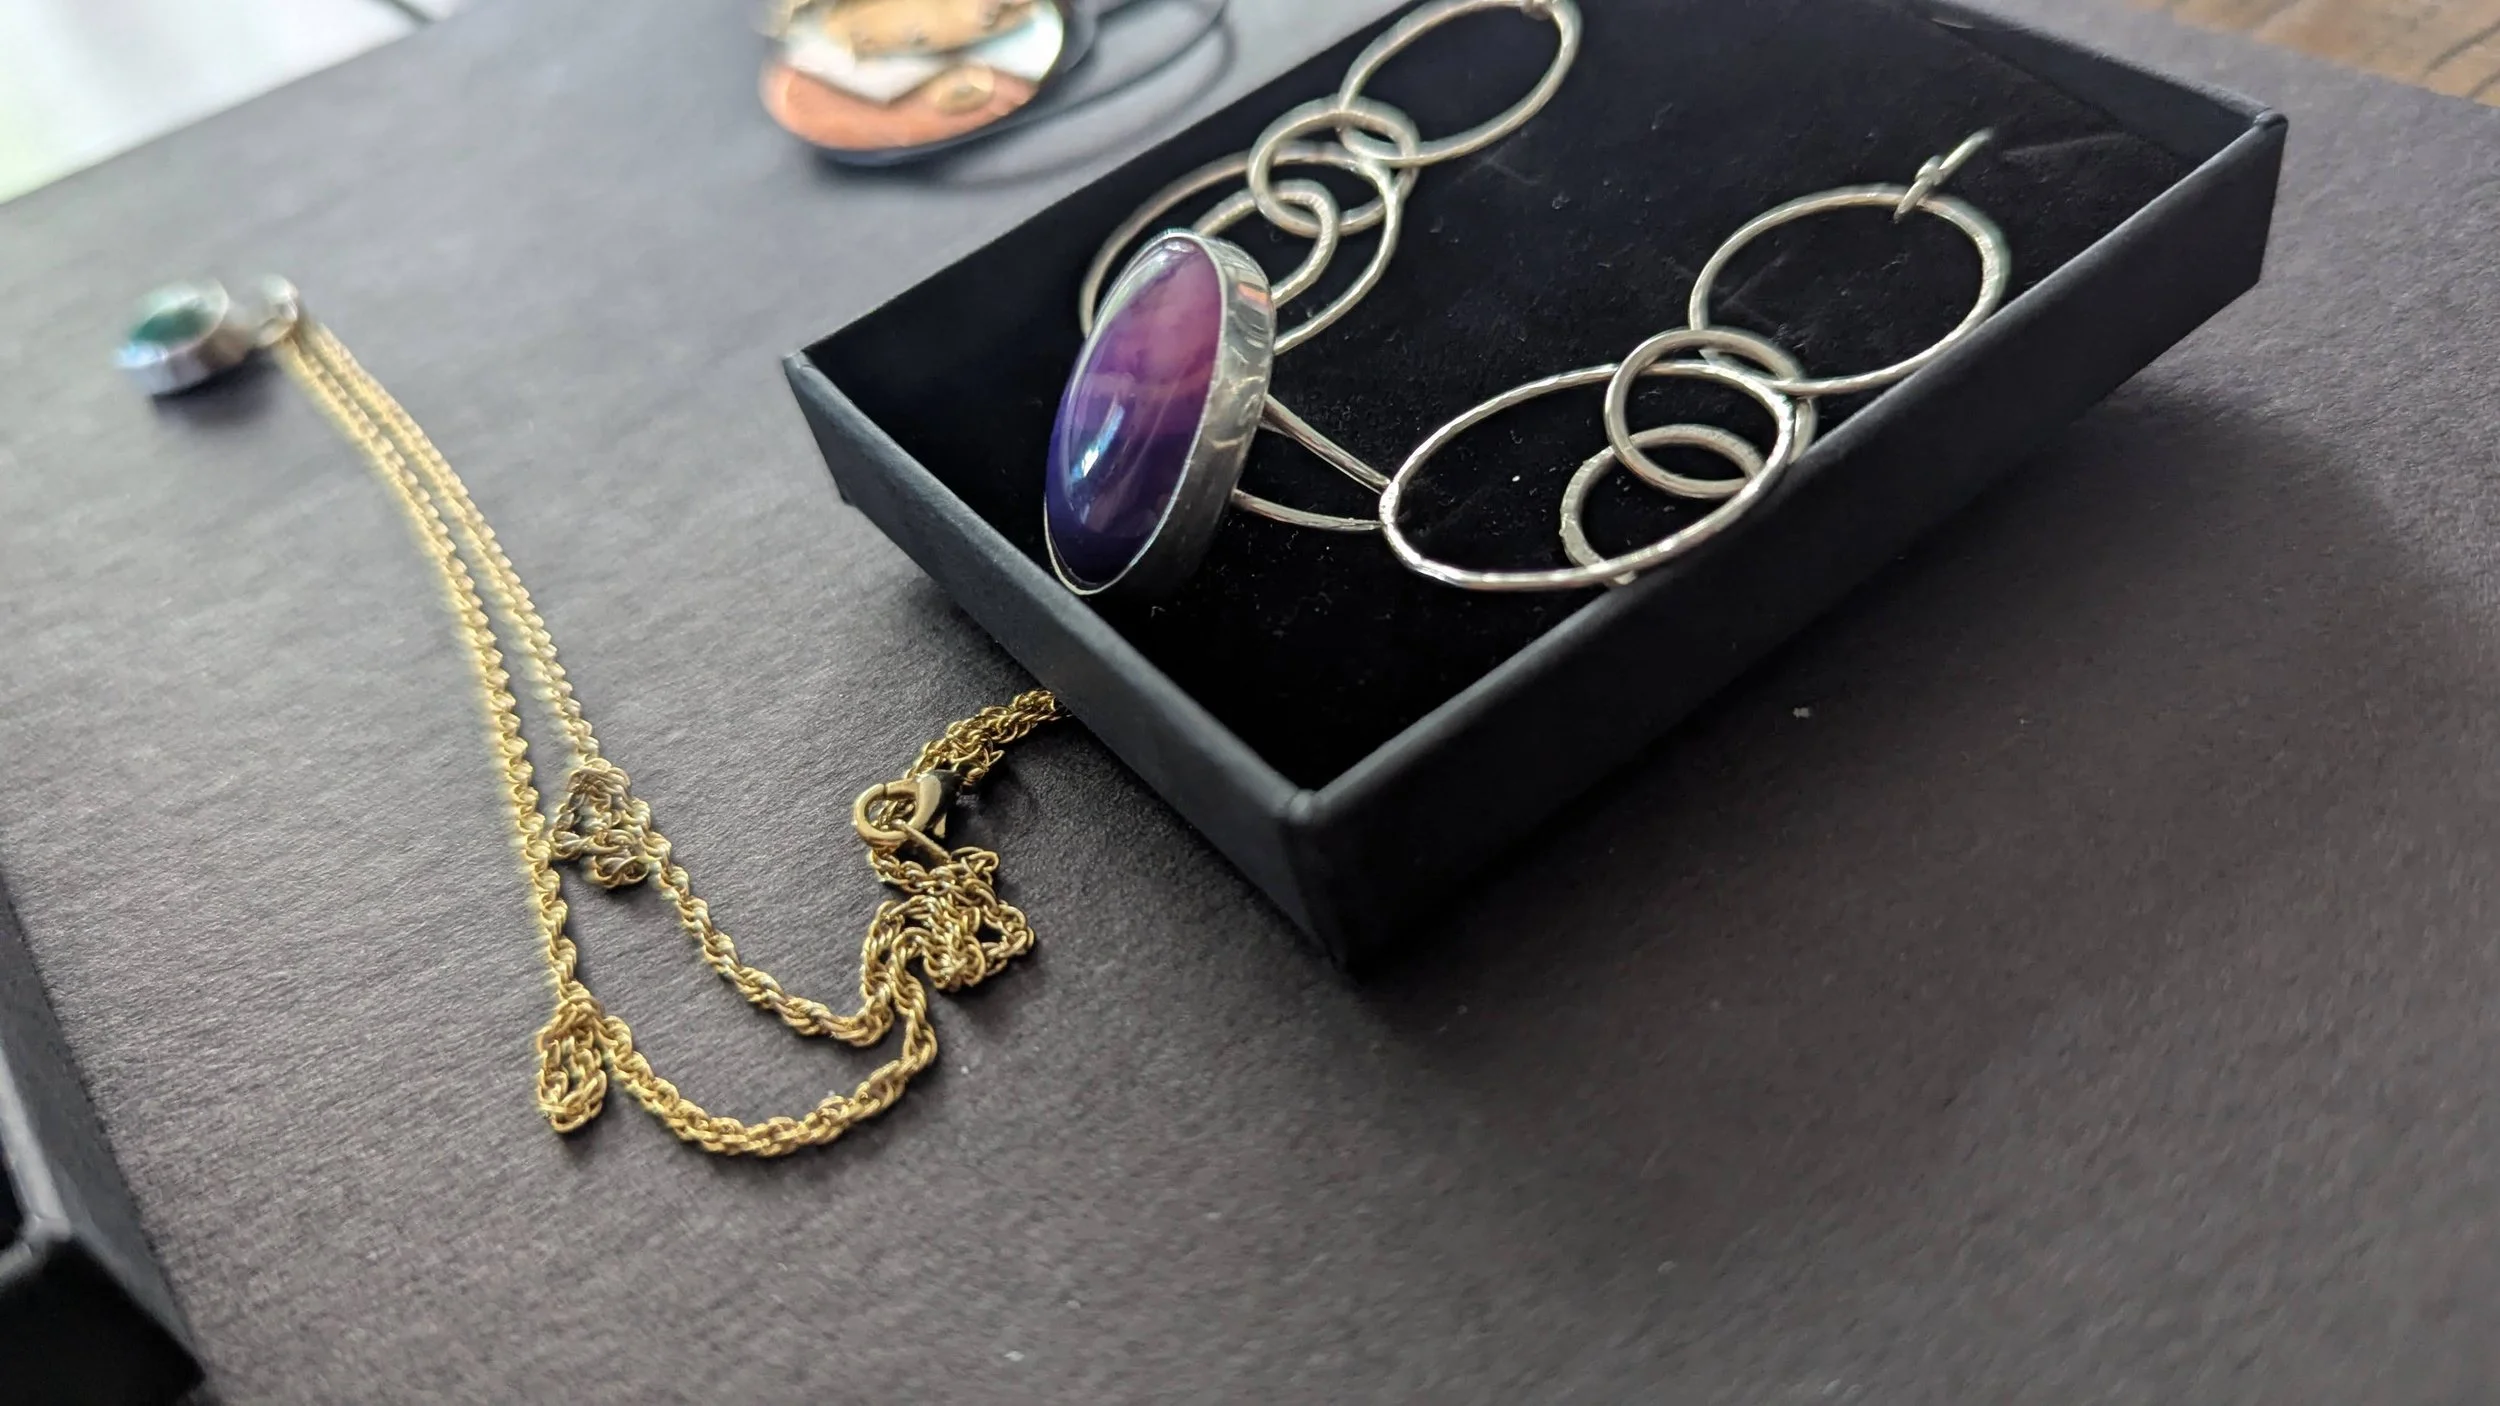
One is the little green jade(?) in a silver container with a ring on it so i could slip through a necklace. This was pretty simple as it was essentially the same thing as the purple ring but without the big ring part.
—
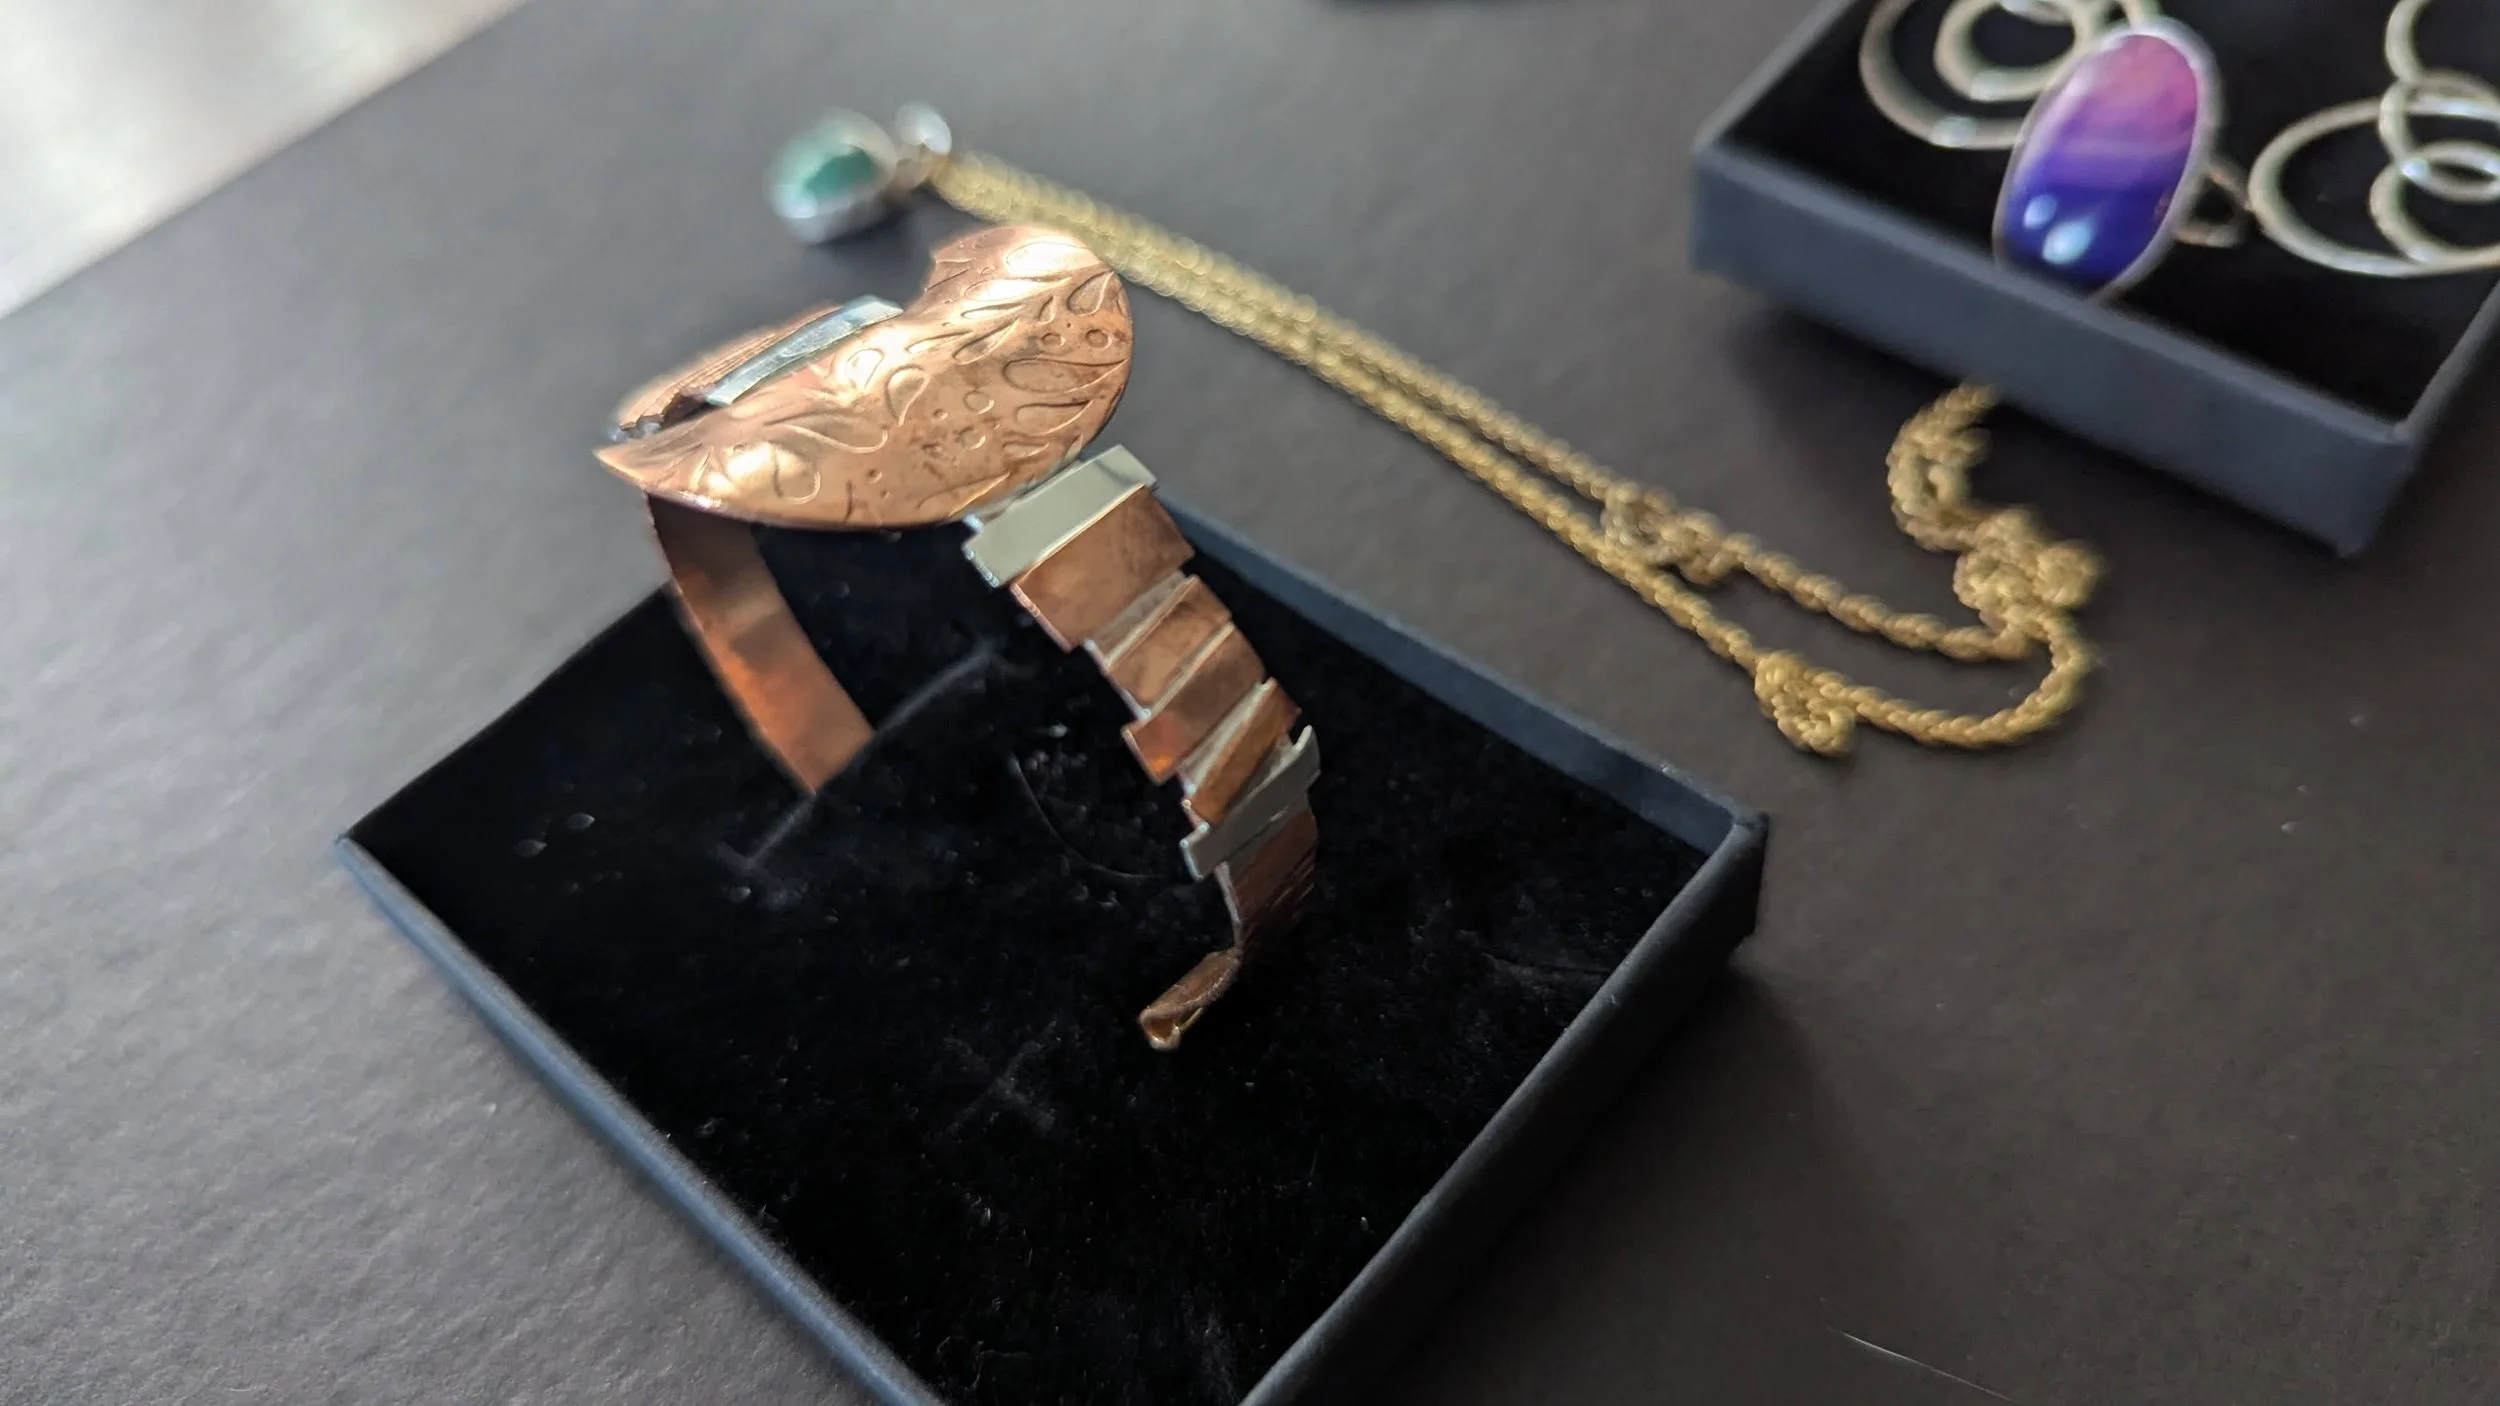
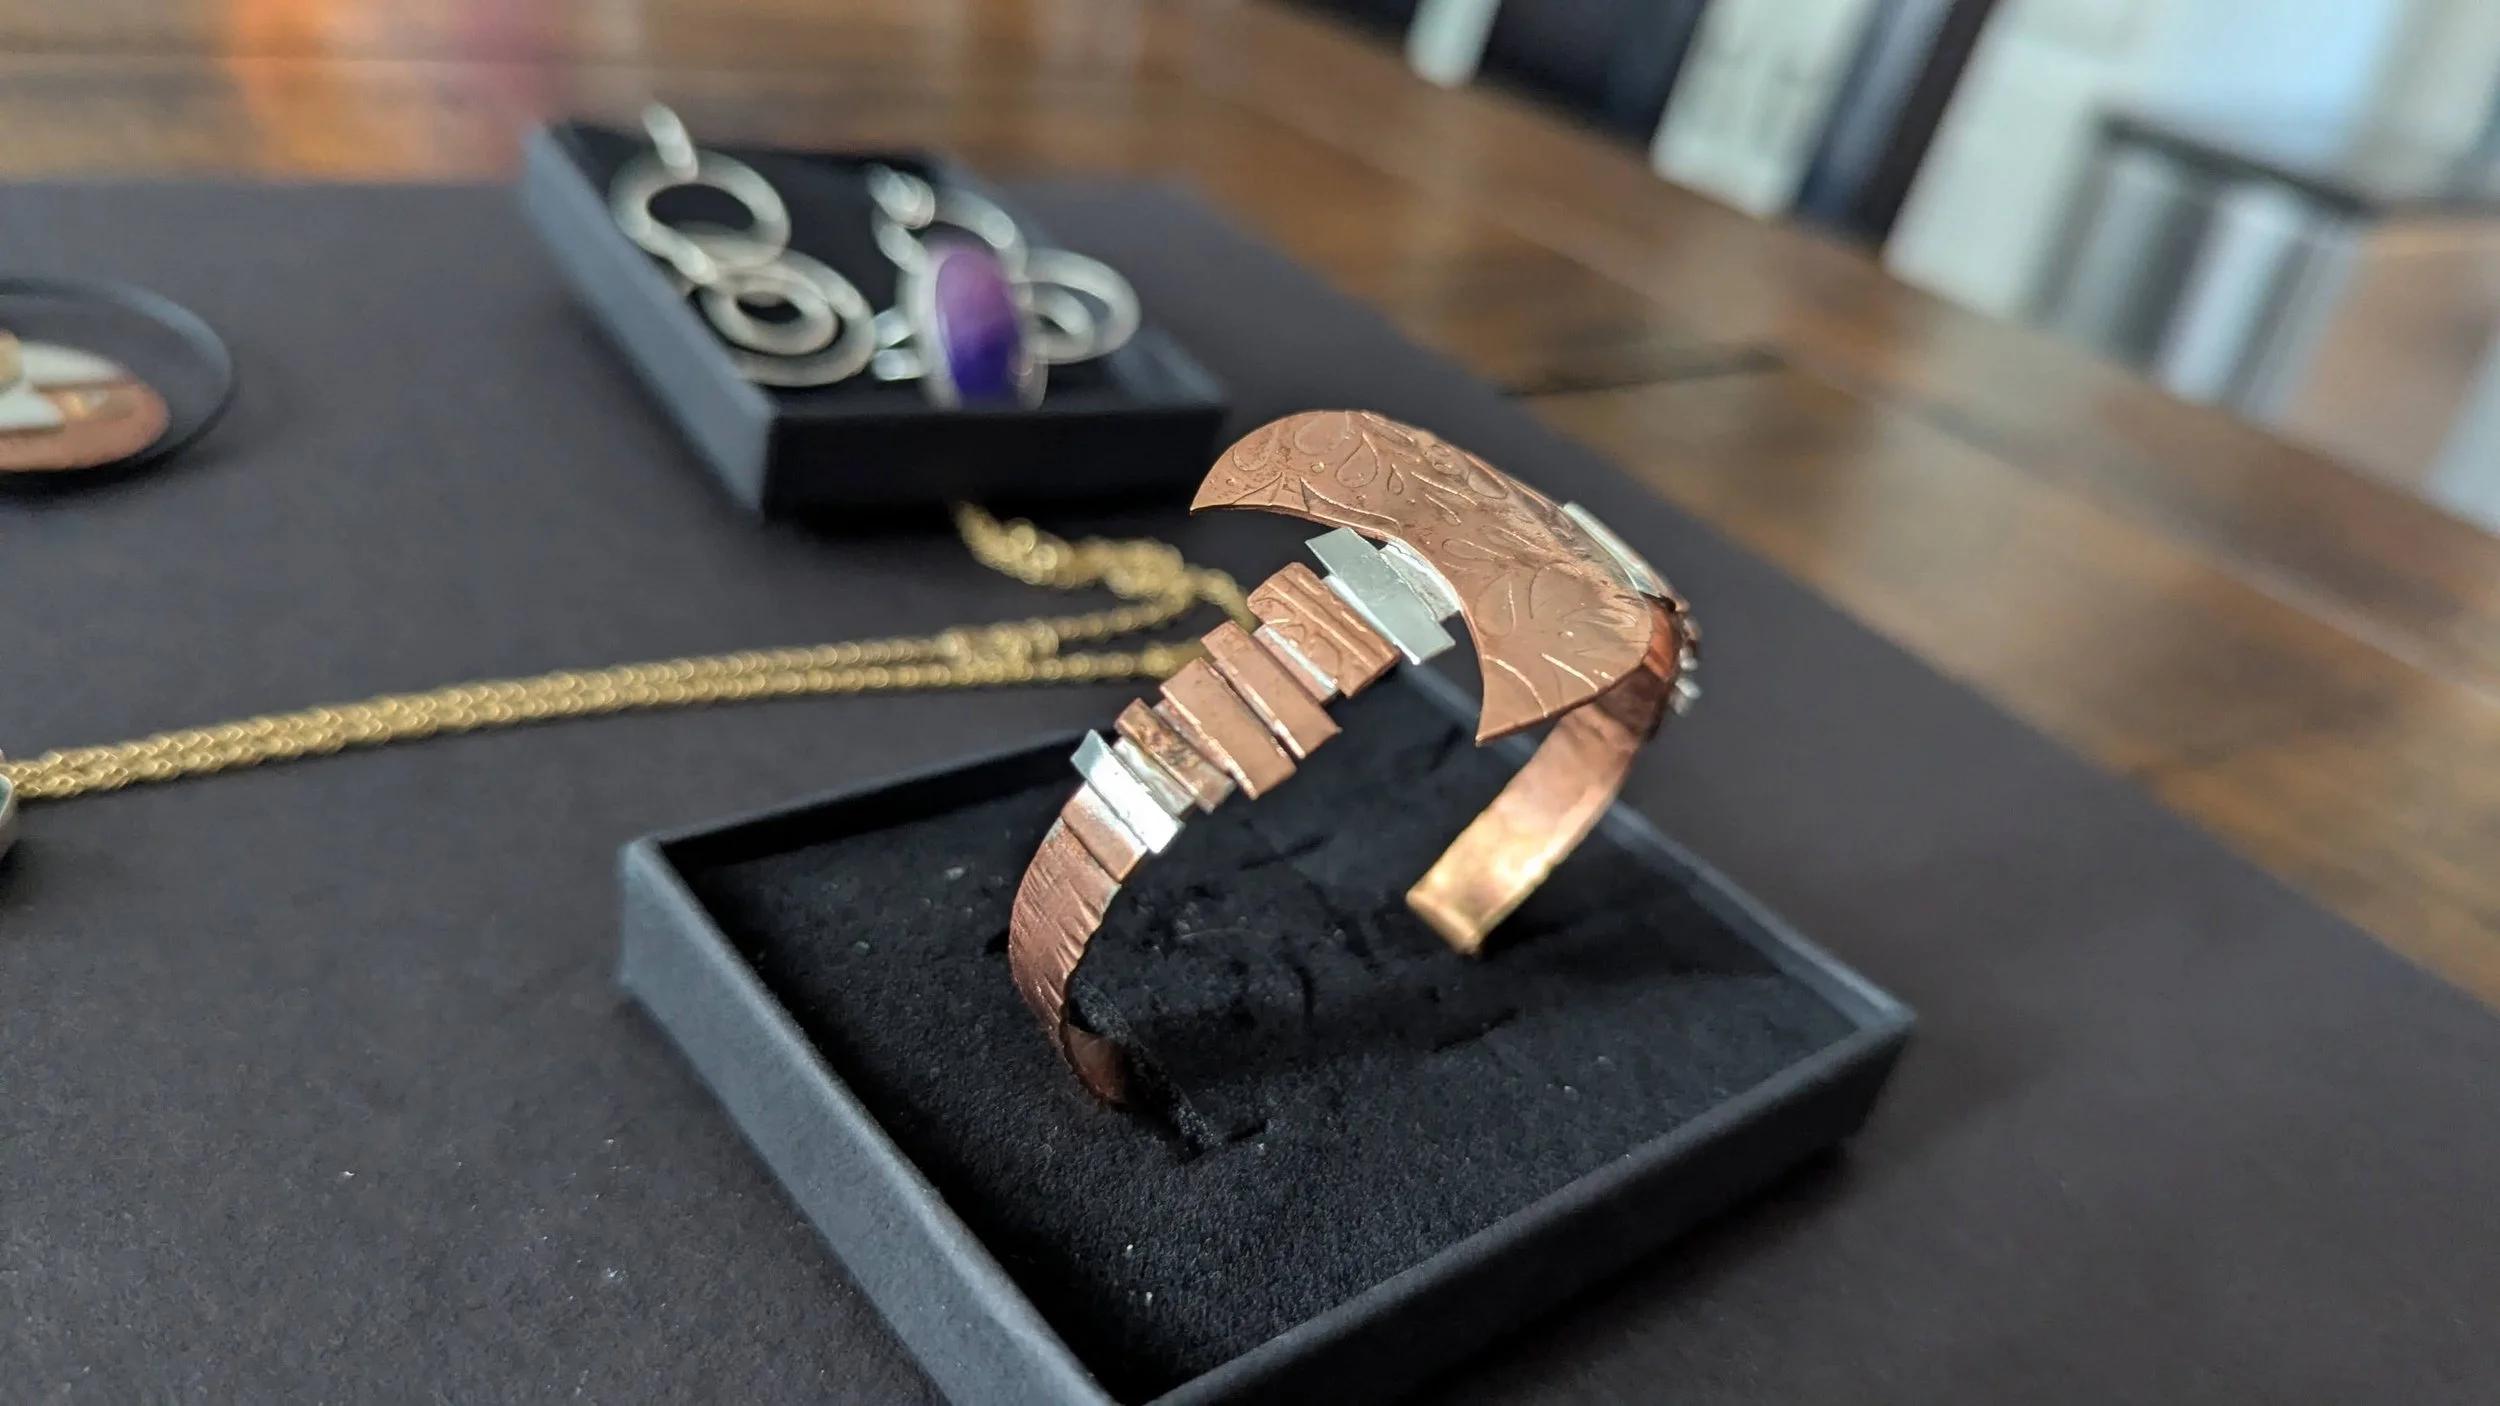
The bracelet was a different story. I was trying to use up all of my scraps from the previous pieces. I had this crescent shaped piece from the face pendant that I thought I could use as a centerpiece of the design.
It was originally going to be a ring with these janky pieces on either side of it. Try on tests with others proved it would be unrealistic, as it was both too long, and too pointy/jagged/dangerous.
So, it was decided to make it into a bracelet, which was a lot easier to do anyway. But it wasn’t easy. Getting the janky pieces to stick to the brass was incredibly frustrating. Heating the brass took longer than the silver and copper, and it was remelting the connections from previous pieces.
—
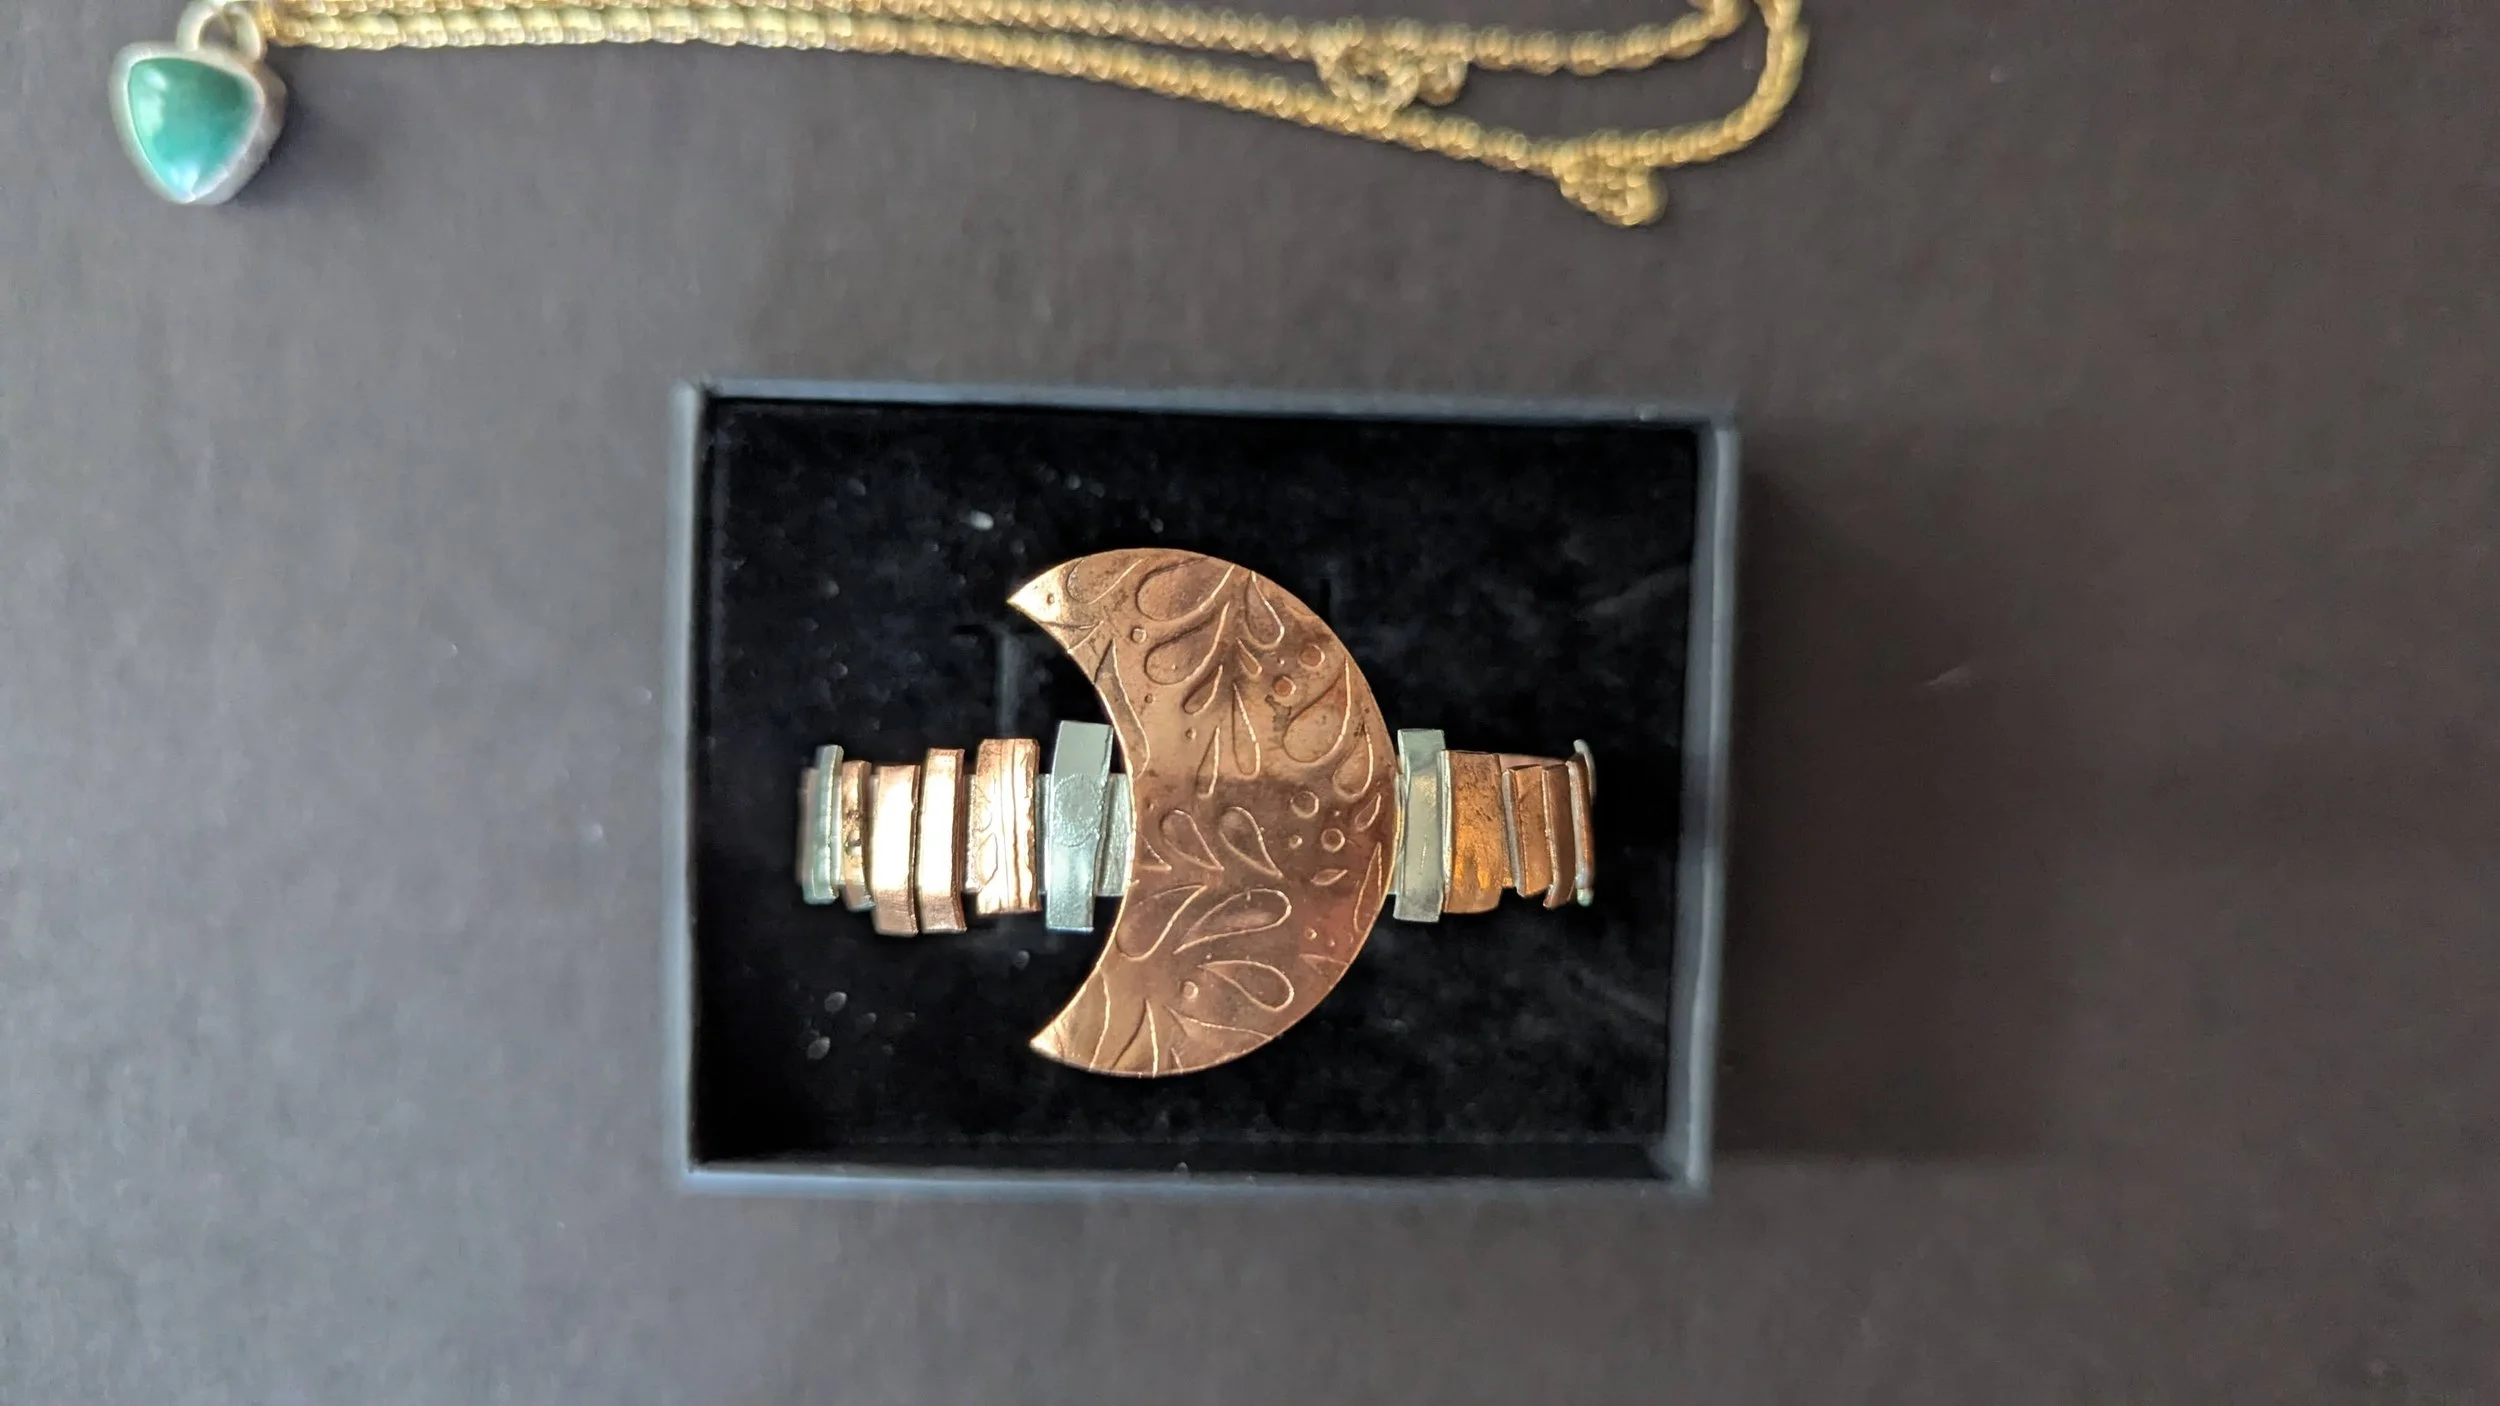
Below is a gallery of all the finished pieces.
Final Thoughts & Reflection
This was a fun class, and unlike anything I’ve ever done before. Marla gave me and the other Resident Artists the freedom to create what we wanted which almost no restrictions, after the first week of teaching us the basic techniques needed for silversmithing.
I think that approach helped me stay interested in this class. I am not a jewelry wearer, or even an appreciator. I think I would have been bored making the same sets of earrings that everyone else had. I’m unimpressed with most of the things I made. The bracelet is probably something I could have made a lot better if I had more than 4 hours, and wasn’t working with only scraps. An actual plan would have helped a lot too.
—
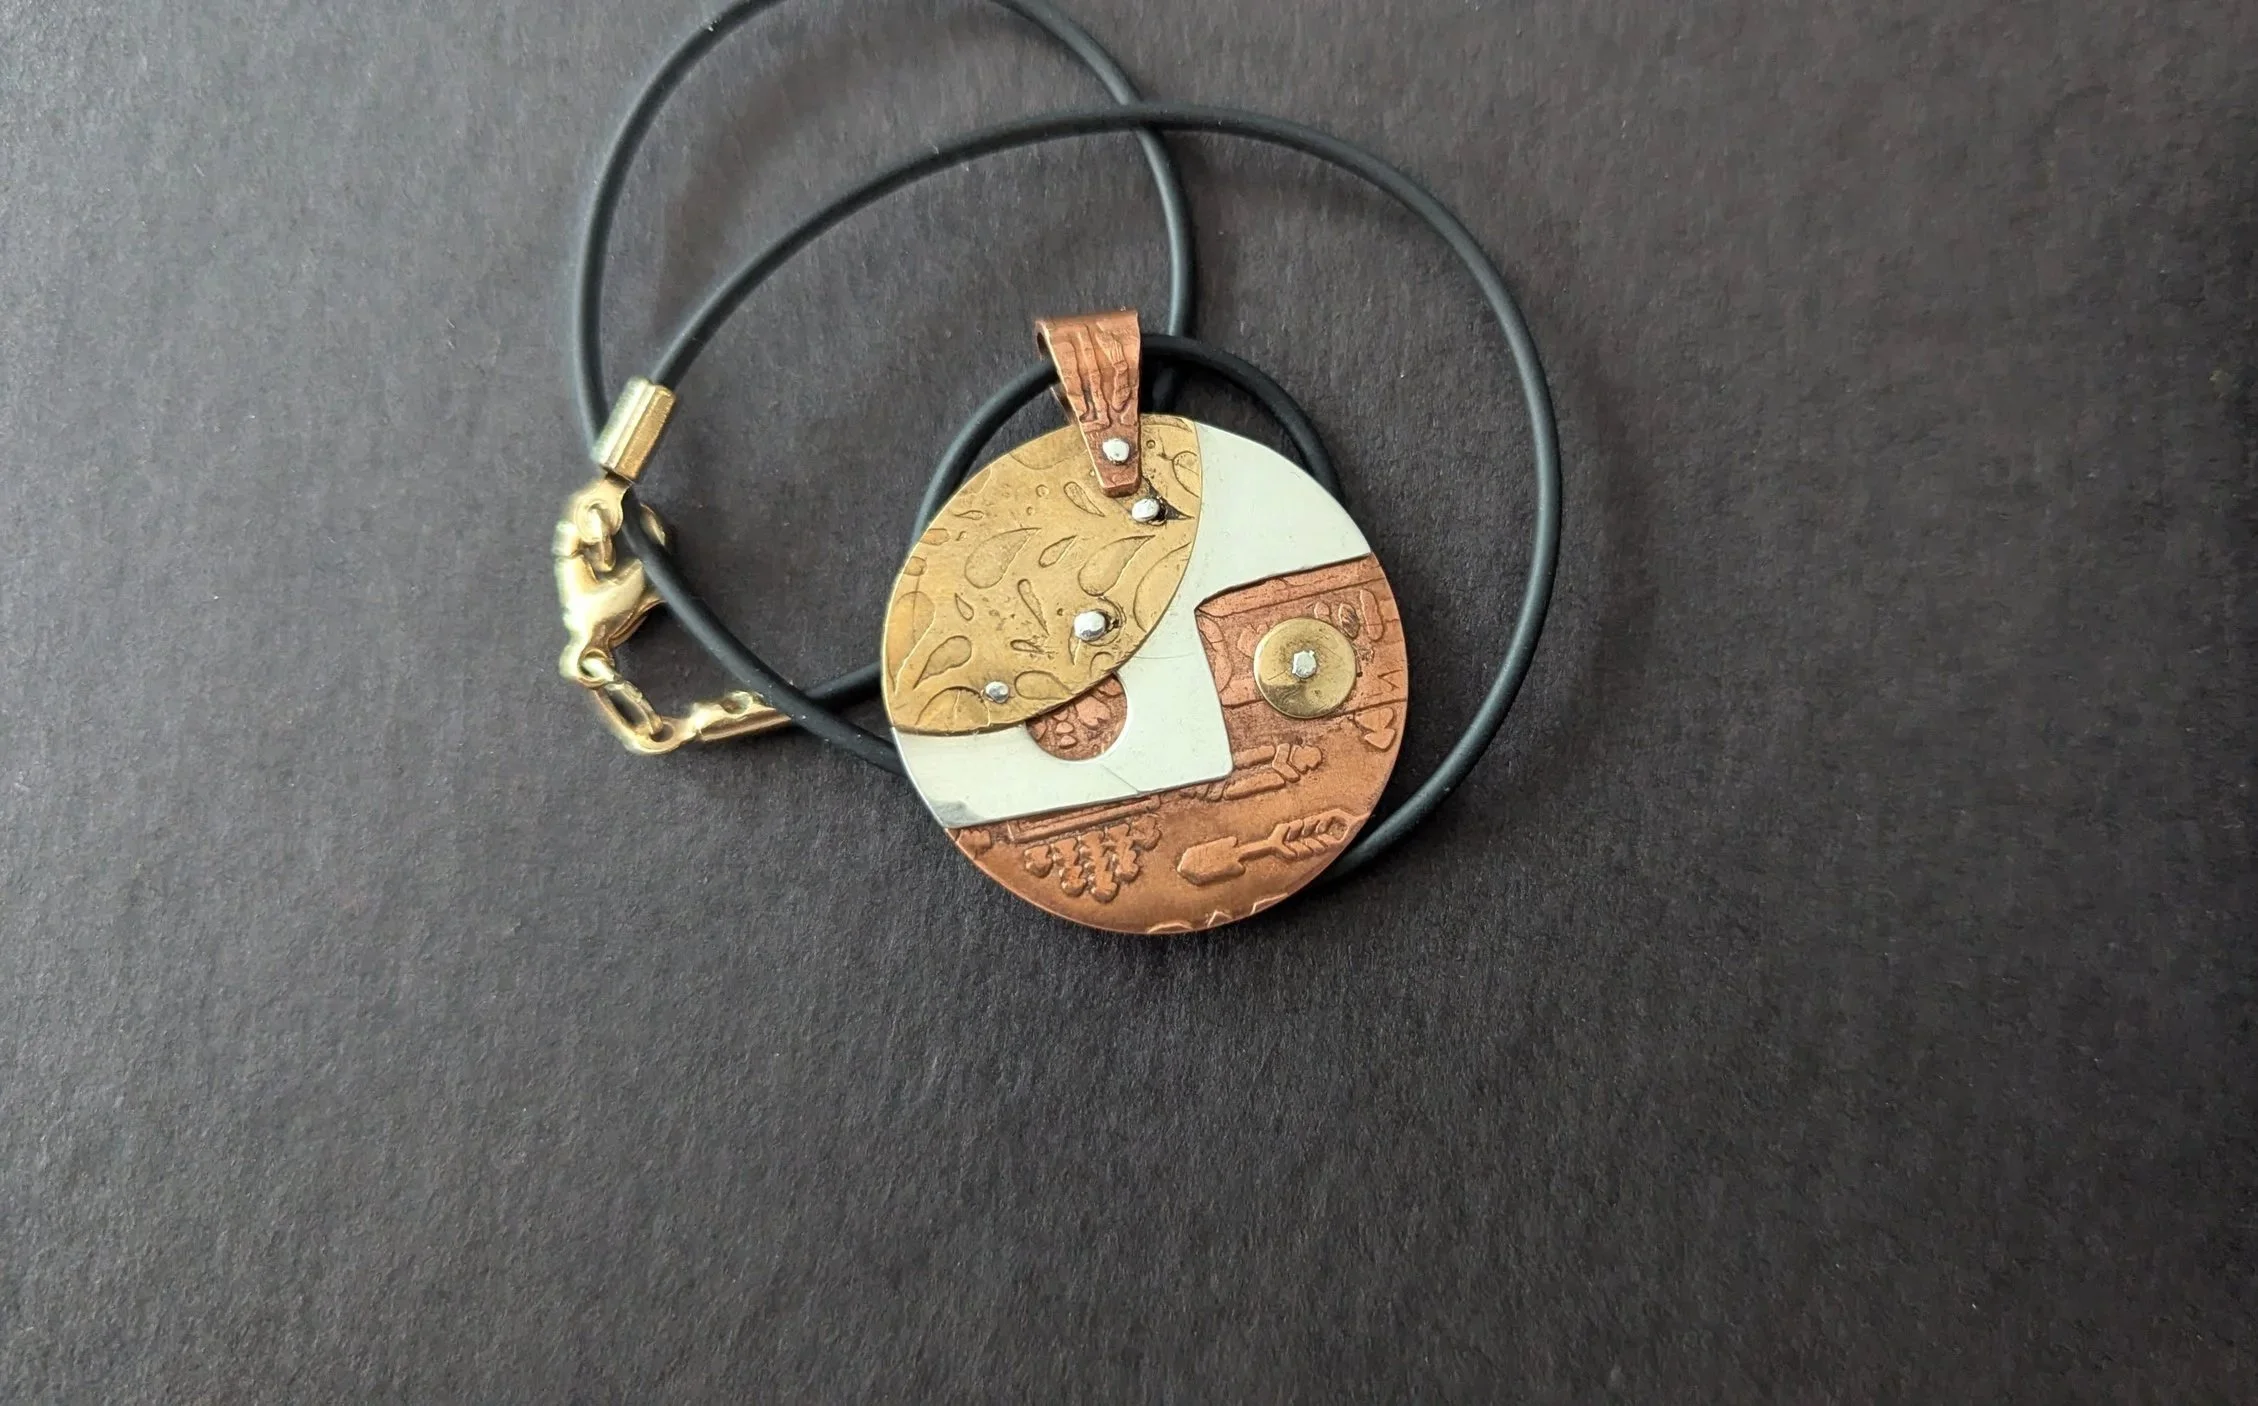
I am quite delighted with the face pendant. I think at the end of the year it will be in the top 10 favorite things I’ve made this year.
I am quite delighted with the face pendant. I think at the end of the year it will be in the top 10 favorite things I’ve made this year.
